
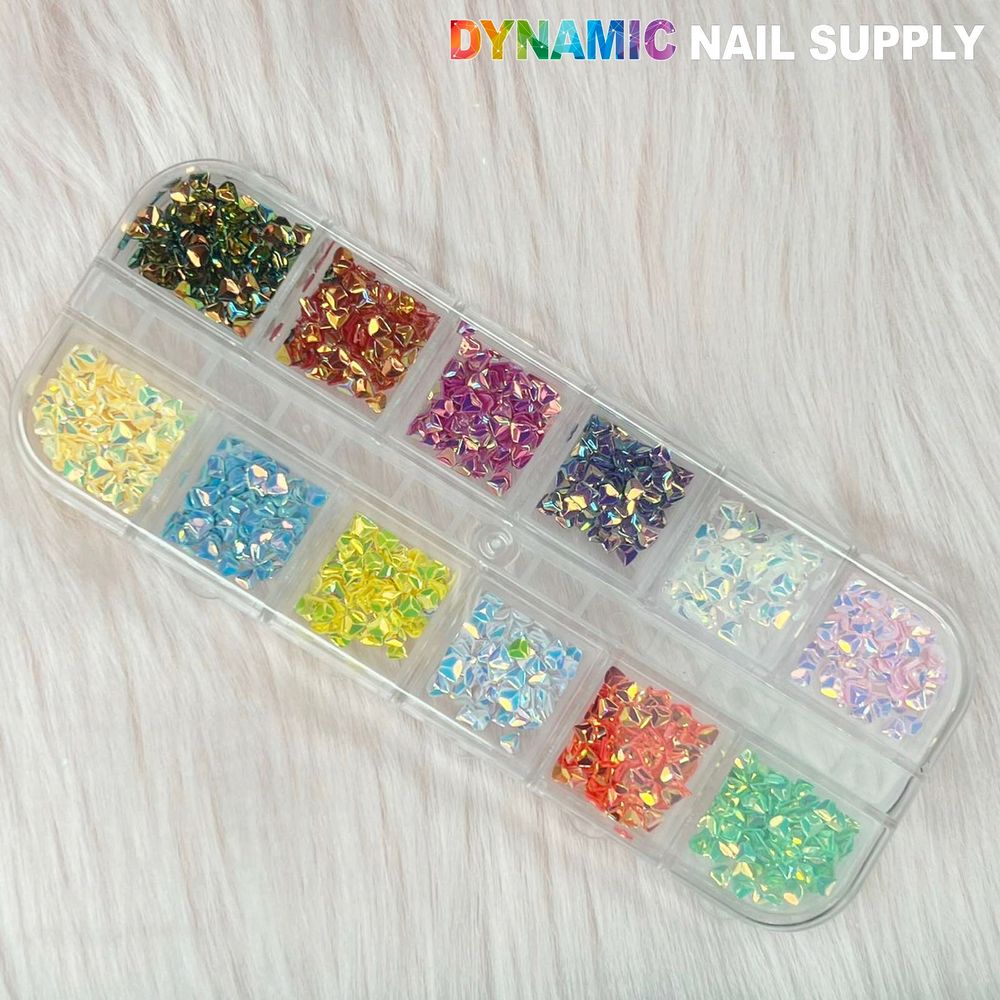
Bright, faceted glitter can turn a basic manicure into a small work of art. If you’re new to nail embellishments, iridescent diamond-shaped glitters are an easy, low-cost way to add sparkle, dimension and a prismatic color shift to polish and gel looks.
What “iridescent diamond nail glitter” really means
Start by breaking down the phrase: iridescent refers to particles that shift color as they catch the light; diamond-shaped describes the geometric cut or silhouette of each piece; and nail glitter indicates these pieces are sized and finished for nail art use. Many mixes include multiple colors and sizes, creating a layered effect when applied.
Basic tools and supplies you’ll need
- Tweezers or a wax picker for precise placement
- A small dish or tray to contain loose glitter
- Base coat and topcoat (regular or gel, depending on your system)
- Optional: clear builder gel or gel topcoat for a stronger seal
- Cotton swabs and rubbing alcohol for cleanup
Step-by-step beginner application
Follow this simple sequence the first few times to build confidence.
- Prep the nail: Clean, shape and push back cuticles. Apply a base coat and allow it to dry or tack-cure if using gel.
- Choose your placement: Decide whether you want a full-coverage glitter look, an accent cluster, or a single diamond near the cuticle or tip.
- Pick up the glitter: Use tweezers or a wax picker to lift one piece at a time. For scattered looks, you can gently sprinkle from the jar over a tray and pick selectively.
- Attach to the nail: Press each piece into a still-wet topcoat, clear polish, or uncured builder gel. If working over wet polish, press gently so the glitter sits flush.
- Seal thoroughly: Lock the pieces in place with one or two generous layers of clear topcoat, or encapsulate under a gel topcoat and cure according to your lamp’s instructions.
- Finish and clean: Remove any stray glitter from surrounding skin with a brush or cotton swab dipped in polish remover.
Design ideas to try as a beginner
- Accent nail cluster: place three to five diamond pieces near the cuticle for a chic focal point.
- Gradient scatter: sprinkle smaller pieces toward the cuticle and larger pieces toward the tip for depth.
- Frame the smile line: line a French tip with a single row of diamonds for subtle sparkle.
Key features and how they affect your result
Because these glitters are iridescent and diamond-shaped, they catch light differently from round glitter. The angular facets create mini-reflections that change with movement, so even sparse placement reads as complex. Mixed sizes expand the visual depth—tiny pieces fill gaps while larger diamonds act as focal accents.
Care, safety and storage notes
- Keep the jar tightly closed to prevent spills and moisture exposure.
- Avoid inhaling loose glitter; work over a tray and keep glitters away from the face.
- Store out of reach of children and pets—small pieces are a choking hazard.
- If you encapsulate under gel, ensure edges are fully sealed to prevent lifting.
Who will love this product?
These iridescent diamond nail glitters suit beginners experimenting with nail art, nail techs who want a fast way to add dimension, and anyone who likes prismatic accents without committing to foil or full chrome. They’re versatile for at-home manicures and salon touch-ups.
If you’d like to try them, check out this iridescent glitter pack to see product details and ordering options.
Buying and a quick note on cost
This type of mixed-color, mixed-size nail charm is often sold in small jars for easy use and storage; the current listed price for this product is $6.00, though pricing may change. For direct questions, you can reach out to the supplier’s social channels—Dynamic Nail Supply maintains Instagram and TikTok accounts for updates.
Practical tips for long-lasting wear
- Use a sticky-free seal when working with gel: apply a final gel topcoat and make sure it’s fully cured before finishing.
- Apply thicker topcoat layers over larger pieces to prevent snagging and edge lift.
- When removing, soak off carefully if encapsulated in gel; for surface-applied glitter, file very lightly and use polish remover to lift adhesive.
With a small jar of iridescent diamond-shaped pieces you can experiment endlessly—accent nails, full-coverage glam, or delicate, scattered shimmer. Keep safety and sealing in mind, start with a simple placement plan, and build your technique as you go.
Conclusion: These colorful, faceted glitters are a beginner-friendly way to add sparkle and dimension to manicures. With a few basic tools and the step-by-step approach above, you’ll be creating eye-catching nail art in no time.