
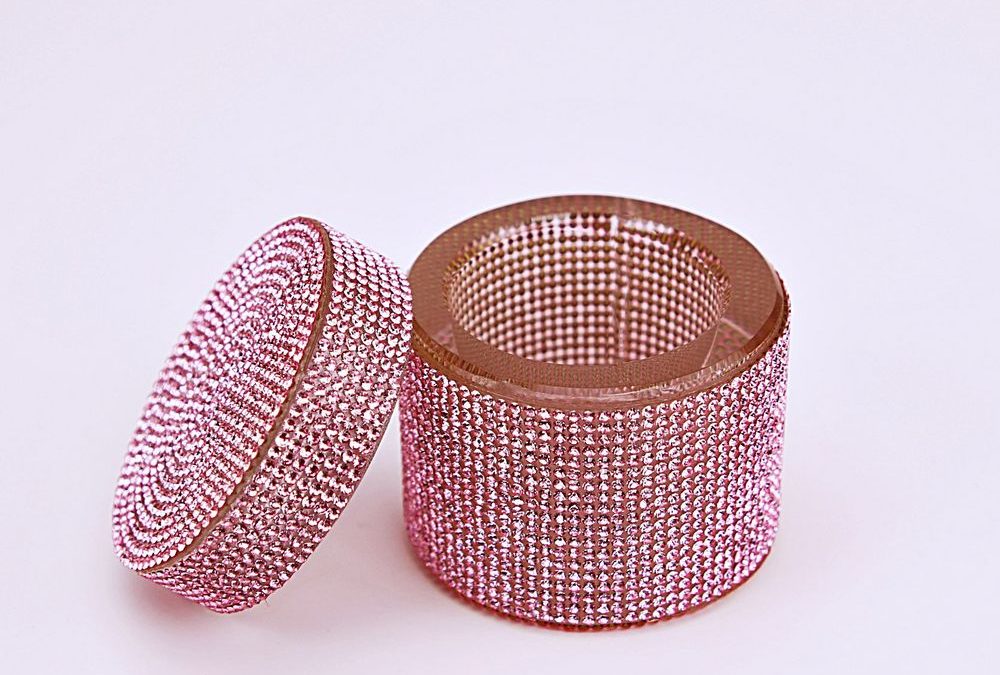
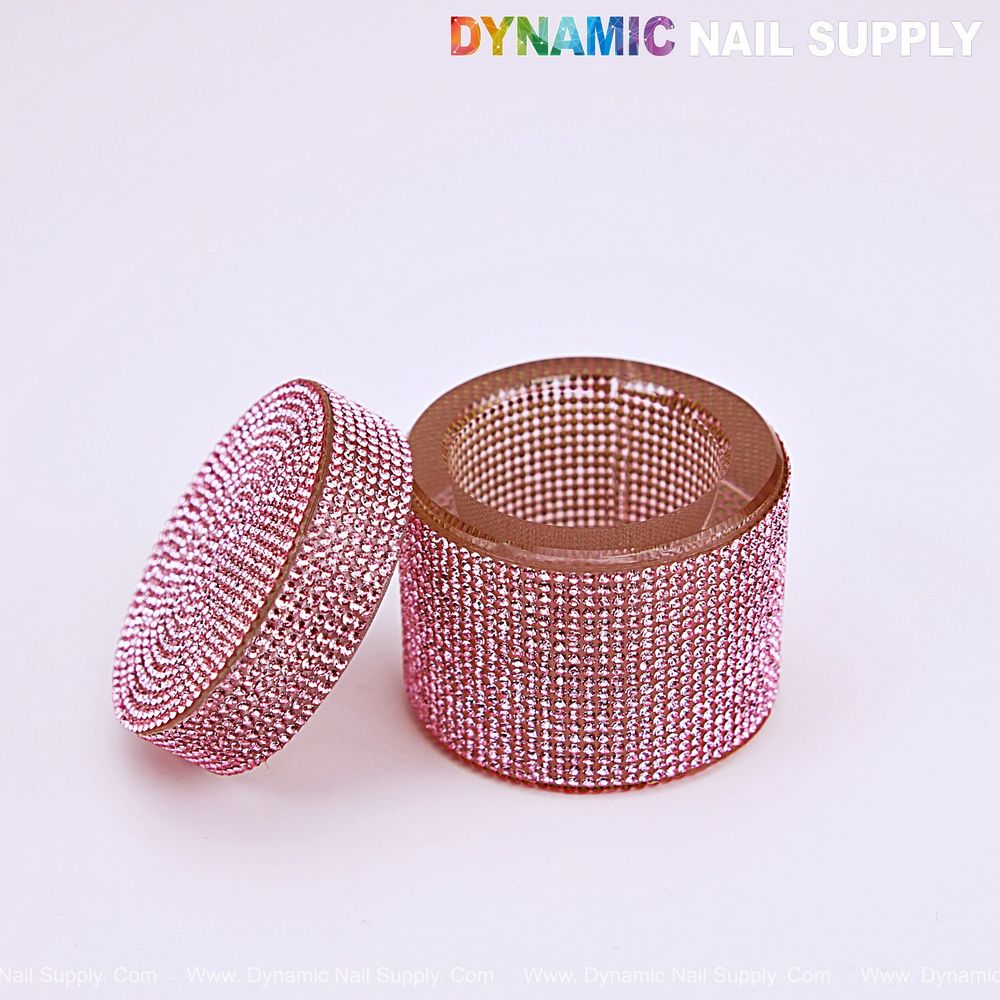
Round Pink rhinestone dappen dish with lid
Master a high-impact party ombré that balances soft blush with concentrated rose-pink sparkle in one focused week.
Day 1 — Familiarize Yourself with the Round Pink Rhinestone Dappen Dish
Begin by reviewing the Round Pink design and how it fits your tool flow. The fully encrusted micro-faceted crystals and clear inner glass allow you to see liquid level while the lid reduces exposure. Set the dish on a stable, well-lit surface and examine access to the wide opening so you can dip brushes and clean them without knocking over product.
Day 2 — Set Up Monomer and Brush Workflow for Ombré Application
Today you establish the liquid workflow for acrylic and dip systems. Pour a small amount of your selected monomer or brush-cleaning solvent into the dish. Practice dipping an acrylic brush to pick up liquid and tentatively loading powder at the ferrule, then lift and lay down a controlled bead near the cuticle area. Repeat until your brush-to-liquid contact is consistent and your bead placement is predictable.
Day 3 — Build a Pale Blush Base for Even Coverage
Focus on producing a smooth pale-blush base that will let the rose-pink crystals read bright at the tips. Whether you use gel, acrylic, or dip: thin even layers are your goal. For acrylic, practice combining medium-setting monomer with pale powder to form a soft, translucent canvas. For gel systems, practice sheering out the first thin base and cure as recommended. Make several practice nails to achieve a balanced, low-contrast foundation that will allow tip ornamentation to pop.
Day 4 — Practice Gradient Placement and Tip Shape Control
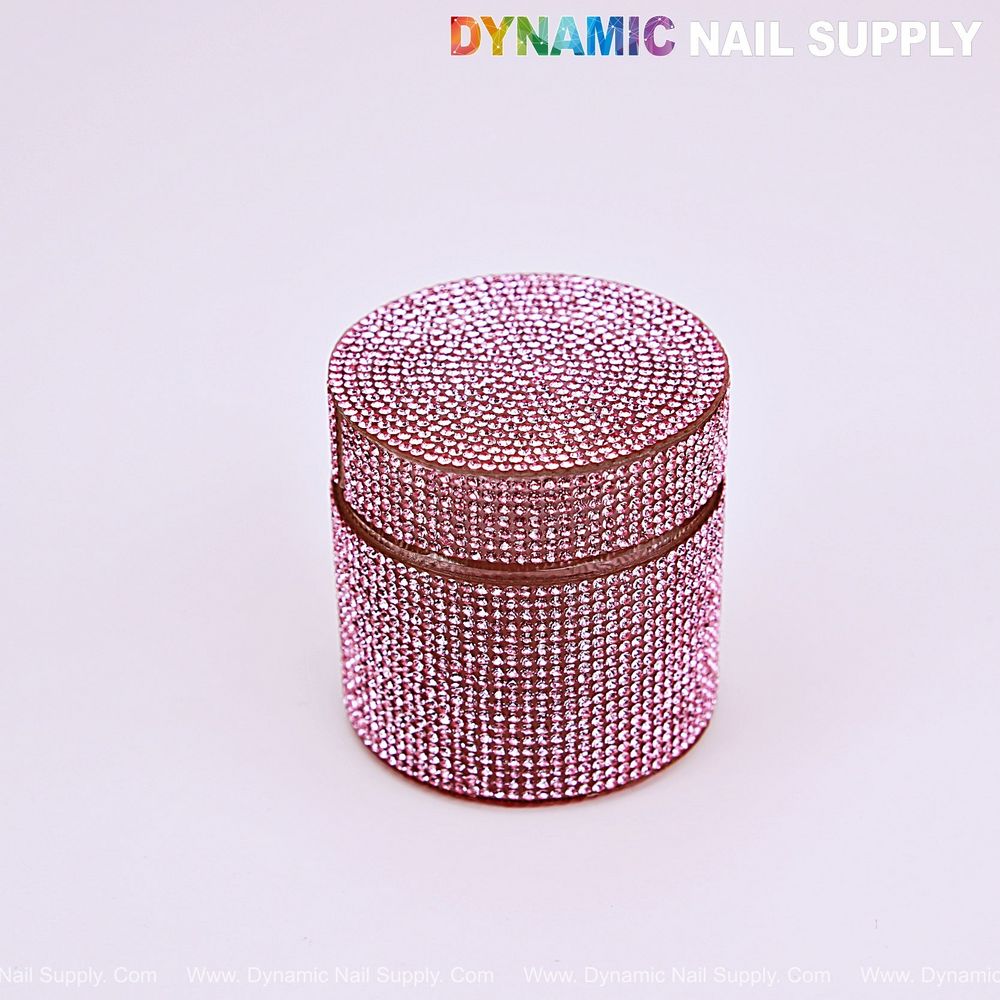
Micro-faceted crystals and clear inner glass cup
Create the ombré gradient freehand and with templates. Use a small fan or flat brush to pull pale blush toward the tip and diffuse pigment gently. Pay special attention to tip shape — a rounded or almond tip benefits from a concentrated crescent of crystals rather than a straight line. Once you can reproduce the same gradient on three consecutive nails, proceed to crystal placement rehearsals.
Day 5 — Micro Crystal Handling and Focal Tip Application
Now concentrate on handling the tiny faceted rhinestones that define the look. Use a clean, lightly tacky base or gel top layer to secure crystals. Practice picking up micro crystals and creating a dense, uniform grid starting at the tip and tapering toward the mid-nail. The Round Pink style favors a heavy concentration at the very tip with a soft fade; rehearse both a full-width tip line and a tapered focal crescent to see which reads best under salon lights.
Day 6 — Layering Across Systems: Dip, Acrylic and Gel
Dedicate this day to transferring the same placement strategy across different systems. For dip: seal the ombré with a thin activator and a glossy finish, then set crystals into a light layer of clear top powder before applying the final seal. For acrylic: secure crystals into a tacky layer of monomer-loaded bead and cap with clear acrylic for durability. For gel: place crystals into a no-wipe gel layer and cure per manufacturer instructions. Use the Round Pink dappen dish to hold your monomer or brush cleaner between steps so brushes stay consistent and contamination is minimized.
Reference for the dish and placement workflow:
Day 7 — Full-Set Run and Finishing Details for Evening Wear
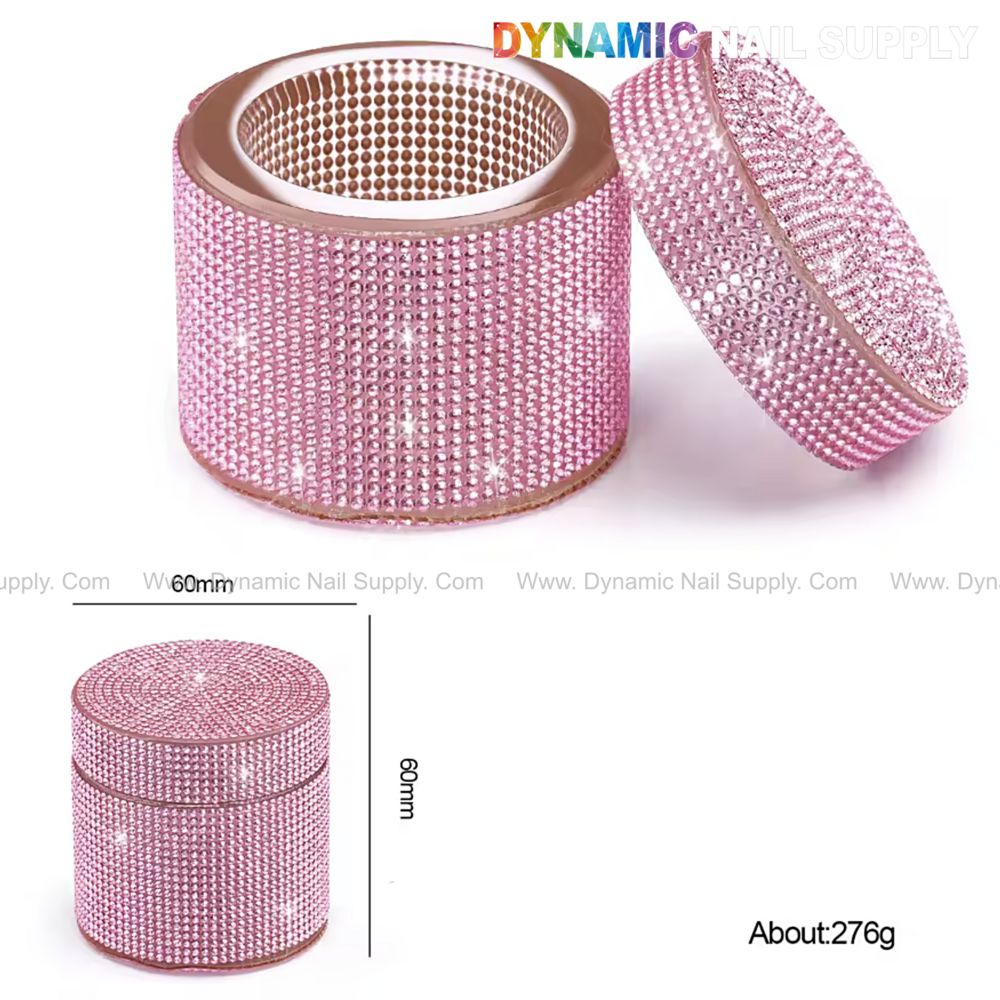
Wide opening for easy brush access
On the seventh day, perform a timed full-set using your preferred system and include crystal tips on all fingers or chosen accents. Work at salon pace but maintain precision: check symmetry, edge smoothness, and crystal adhesion. Finish with a durable high-gloss topcoat or encapsulation layer and file any rough edges. Evaluate the final look under warm light and make micro-adjustments to placement density for maximum sparkle on camera.
Styling and Event Suggestions
For evening events, pair the pink rhinestone ombré tips with jewelry and fabrics that mirror the metallic rose-pink highlights. Concentrate light-reflective crystals at the tips to catch spotlight and camera flash. Keep surrounding nails softly translucent so the focal tips remain the statement.
Use a stable, covered liquid dish to protect product between steps and keep brushes consistent.
Maintenance, Hygiene and Care Notes
Always work with a covered dish when not actively dipping brushes to limit evaporation and contamination. Clean brushes in the dish between colors or systems, and transfer any used liquid away from fresh product. Check crystal adhesion before sealing and advise clients to avoid oil-based hand lotions immediately after the service to maximize longevity.
Practice each component deliberately across the week and you’ll gain repeatable control over gradient softness, crystal density, and final finish. The Round Pink rhinestone wrap and clear inner cup encourage a tidy, glamorous workflow that suits busy salon services — price may vary and is subject to change.
Care and safety reminder: handle monomer, acetone and solvents with adequate ventilation, keep liquids covered when not in use, and store the crystal dappen dish away from direct heat to preserve adhesive cleanliness.