
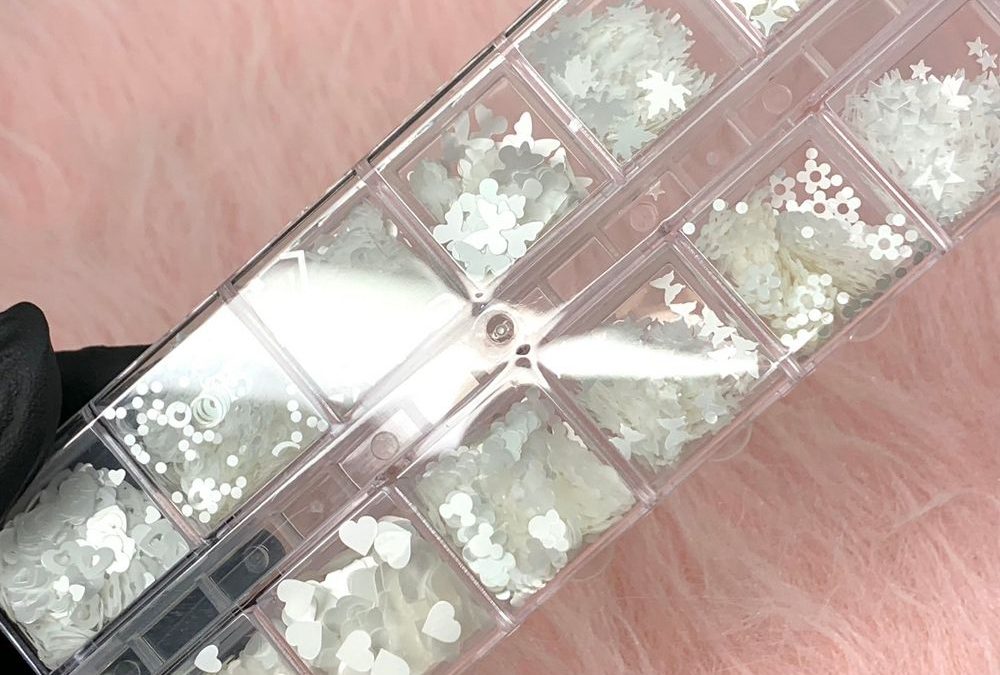
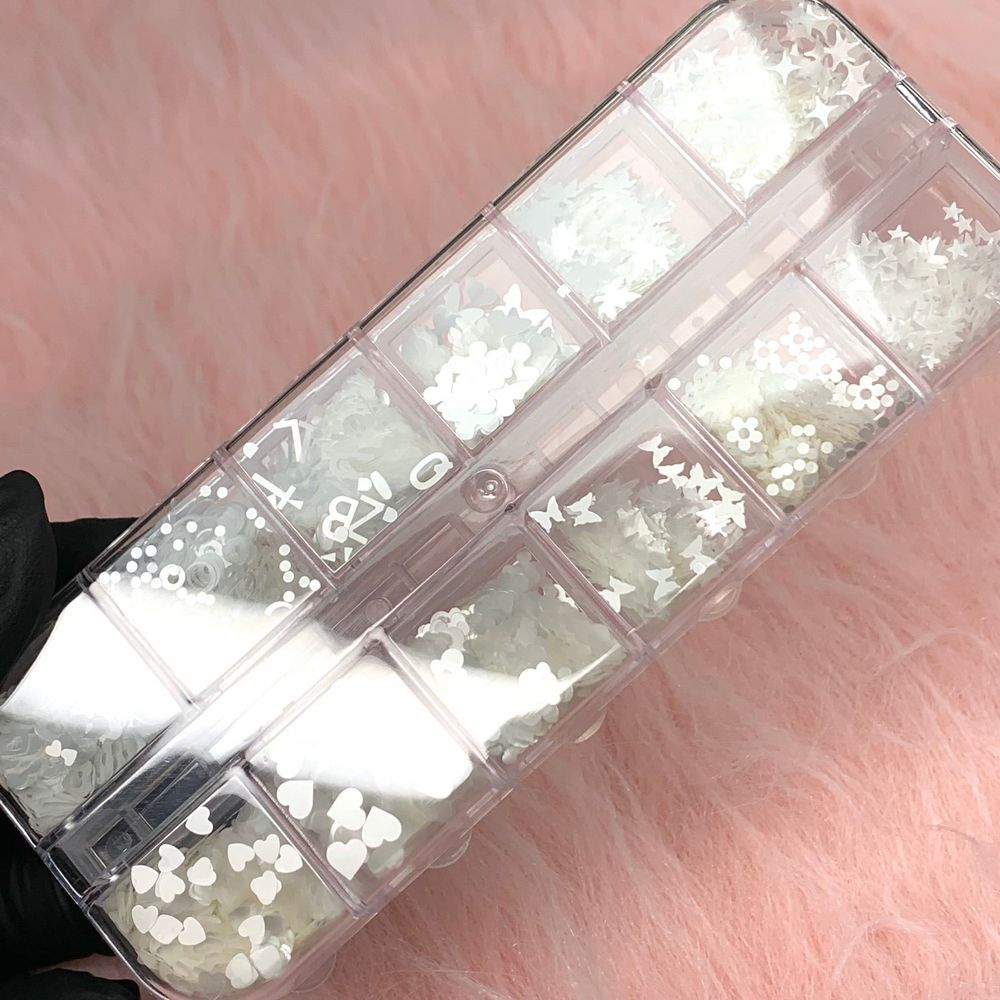
Soft white sequins arranged by shape.
You will master placement, layering, and finishing for delicate white multi-shape sequins in one week.
Day 0 — Prepare Your Workspace and Materials
Start before the practice week begins by assembling what you need: fine tweezers, a thin dotting tool, a small fan brush, clear base and top coats, a jelly or sheer polish for practice bases, and a small dish to sort sequins. Inspect the sequin trays so you can clearly see the different shapes — hearts, flowers, stars, leaves and butterflies — and their small-to-medium sizes. Arrange lighting and a magnifier so placement is visible without strain.
Day 1 — Single-Shape Placement Basics
Goal: steady, consistent placement of individual sequins on a flat nail surface.
Use a sheer or nude practice tip. Work with the pearl-white and translucent pieces first; their thin, flat profile requires a gentle touch. Pick one shape — hearts, for example — and place five on five tips positioned near the free edge. Practice a consistent distance from the tip and symmetry across tips. Use a small drop of clear polish as adhesive; press the sequin flat with a dotting tool, then cure or let dry before a thin top coat.
Focus on one-minute placement timing per sequin to build speed without sacrificing alignment. Keep a log of which shapes settle flat and which need a tiny dab of additional polish to lay flush.
Day 2 — Mixed-Shape Grouping and Composition
Goal: create balanced groupings using two to three shapes per nail.
On full nails or practice tips, compose small clusters combining a flower with a leaf and a tiny star. The sequins’ pearlescent sheen reads as layered even when flat, so consider how translucent edges overlap. Practice arranging shapes in triangular or crescent clusters and step back after three nails to assess visual balance. Work faster than Day 1 but maintain even spacing and avoid stacking more than two layers where the pieces remain thin.
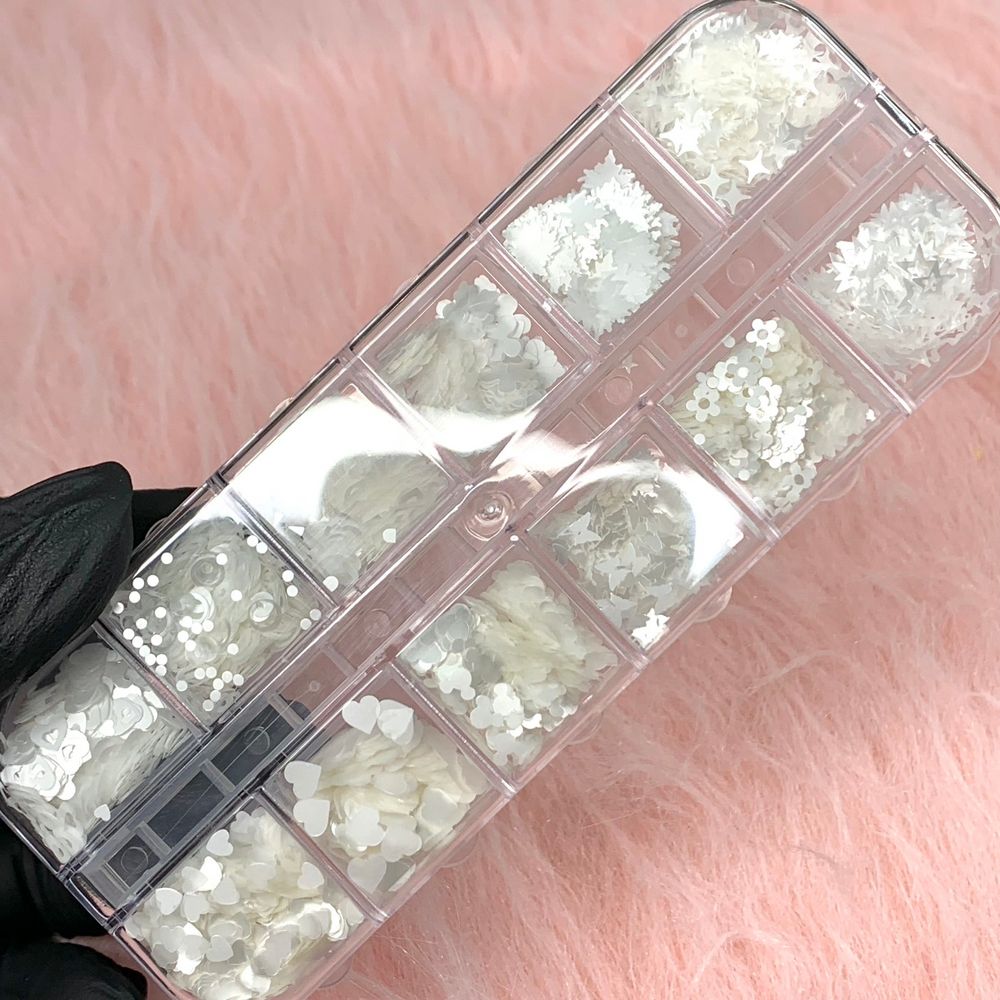
Thin, flat pieces with pearly sheen.
Day 3 — Delicate Edge and Tip Work
Goal: integrate sequins into tips and French-style accents.
Use creamy off-white and pearly pieces to create minimalist white tips and soft, monochrome French accents. Place small stars or tiny leaves along the smile line for subtle definition. For a modern take, scatter micro hearts across a sheer tip so they read as a soft border. Practice sealing the edge with a thin, even top coat to prevent lifting; because the sequins are flat, a light flood coat usually levels them without obscuring shape detail.
Day 4 — Layering for Floral and Bridal Accents
Goal: produce layered floral motifs and bridal accent nails that remain delicate and wearable.
Create a base of sheer or jelly polish. Layer small flower sequins with tiny leaf shapes, placing the leaves so they peek beneath petals. Use the pearly, translucent pieces to maintain an airy feel appropriate for wedding sets or romantic ombrés. Practice three variations: single accent nail, two symmetrical accents, and a full-hand soft-scattered approach. Cure or dry fully between layers to avoid shifting; the thin, flat profile allows subtle translucency when overlapped.
Day 5 — Working on Durability and Topcoat Technique
Goal: protect thin sequins without losing their pearly sheen.
Test different topcoat approaches on practice tips: thin flood coat, two-stage fill-and-seal (one thin coat to lock edges, then a final coat to level), and encapsulation with builder gel if your salon prefers gel finishing. Note how the pearlescent sheen reacts — a moderate glossy finish enhances depth while a matte topcoat subdues shine but keeps shape detail. Record which method best preserves edges and minimizes lifting for your typical client wear time. Apply a final thin layer and cure or dry fully before light buffing only when necessary.
Day 6 — Working with Bridal and Soft-Boho Requests
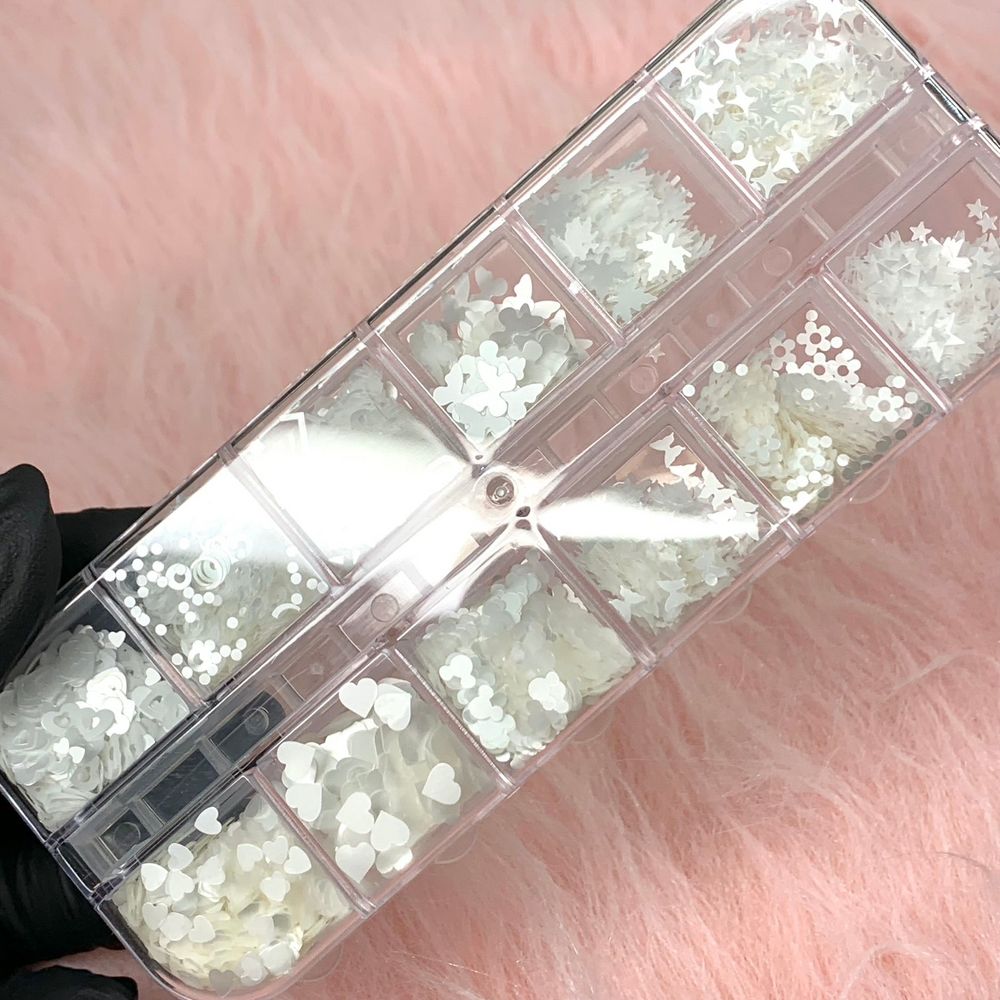
Assorted hearts, flowers, stars, leaves.
Goal: translate practice into client-ready variations for weddings and baby-boho looks.
Recreate three client profiles: a bridal accent set with layered flowers and subtle butterflies; a soft boho look using scattered leaves and translucent pieces over jelly bases; and a minimalist monochrome tip with tiny star accents. Time each full-hand application to simulate real service pacing. Adjust placement speed against finish quality and finalize a one-sheet service description for technicians outlining placement order, recommended topcoat, and cure/dry times.
Day 7 — Speed, Consistency and Service Integration
Goal: consolidate speed and repeatability for salon workflows.
Run full mock services on practice hands at salon cadence. Aim for consistent placement, predictable adhesive use, and a repeatable topcoat sequence. Train an assistant or peer with your one-sheet procedure and record their timing and results. Make final tweaks to ergonomics — tweezers grip, tool angle, and lighting — to minimize hand fatigue while preserving the delicate look these pearly, flat sequins create.
Practice with clear steps and steady hands; the sequins reward precision with a soft, refined finish.
Final Notes, Care and Safety
Store sequins in small compartments to avoid mixing shapes. Because these are thin plastic pieces, avoid high-heat exposure and keep away from solvents that may cloud the pearlescent surface. Handle with care to prevent static scatter and always fully seal edges to reduce accidental lifting. Price noted at $6 may change.
For product ordering or to integrate this set into your service menu, see the item details here: white multi-shapes sequins
Care reminder: always perform salon-appropriate patch tests when adding embellishments and dispose of any damaged pieces safely to avoid sharp edges.