
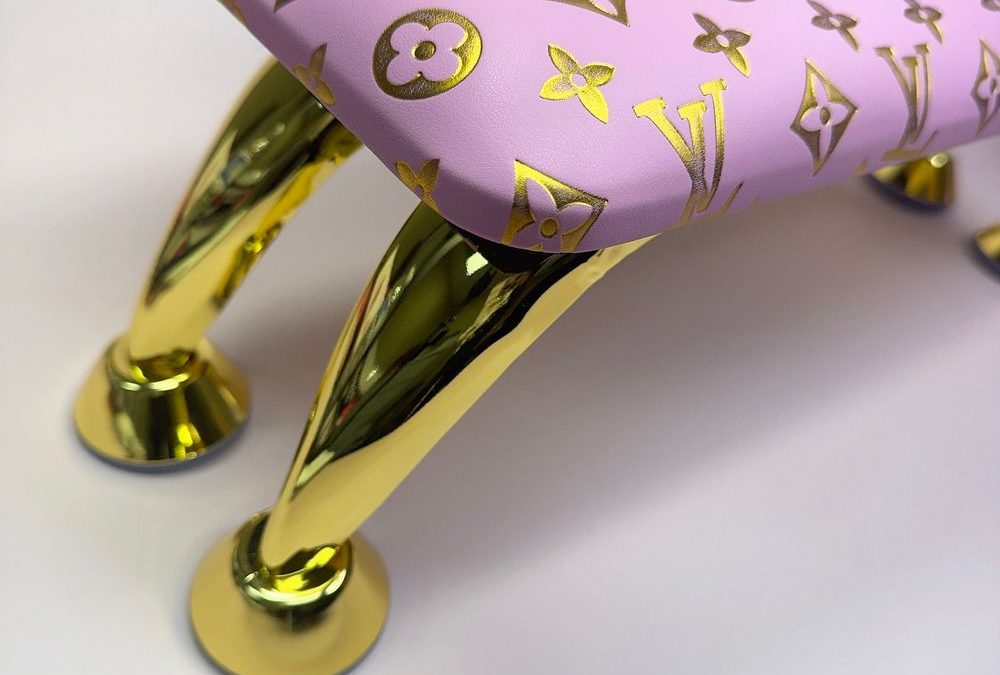
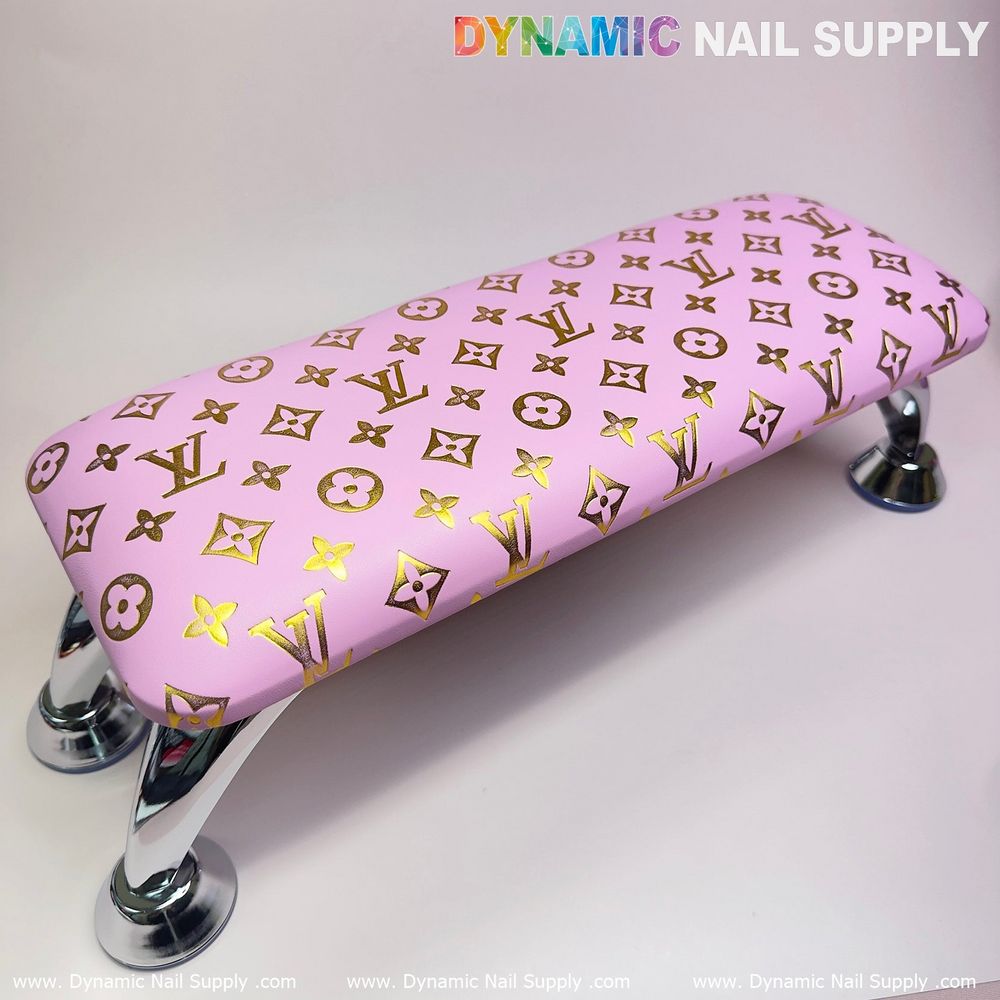
Bubblegum pink cushion with metallic gold motif
Preserve the playful luxe look of the bubblegum-pink faux‑leather cushion while keeping it hygienic and service-ready.
Day 1 — Surface Assessment and Minimal Spot Test
Begin by understanding the armrest you own: a padded bubblegum-pink matte faux‑leather top printed with repeating metallic gold monogram motifs and fitted with polished chrome and gold-tone legs. Inspect seams, the printed foil area, and the anti-slip bracket for gaps or loose finishes. Your immediate goal is to identify vulnerable zones and confirm that the printed motif sits on the smooth surface rather than embossed into it.
Prepare a tiny test swatch in an inconspicuous corner. Use a soft white microfiber cloth slightly dampened with pH-neutral salon cleaner diluted per manufacturer directions. Wipe once and let dry; this confirms the cleaner will not remove or dull the metallic gold foil. Record the result in your station log before proceeding.
Day 2 — Build a Low-Moisture Disinfecting Kit
For daily salon use you will need a compact kit: low‑moisture disinfectant wipes rated for faux‑leather, disposable microfiber cloths, a soft-bristled detailing brush, isopropyl rubbers or nitrile gloves, and a non-abrasive chrome polish for metal legs. Avoid solvents, acetone alternatives, and oil-based polishes near the printed motif.
Assemble the kit near the station so every technician can follow the same sequence between clients. Label bottles and include a laminated one‑page protocol for quick reference.
Day 3 — Client-to-Client Quick Routine (Under 2 Minutes)
Train your team to perform a fast and safe reset after each client. Steps:
- Put on gloves.
- Remove loose debris with a dry disposable cloth; do not scrub the motif.
- Wipe the surface once with a low‑moisture, pH‑neutral wipe following the motif direction (single pass).
- Use a clean dry microfiber to remove any residual dampness instantly.
- Inspect legs and anti-slip bracket for polish drops and clear them with the brush and wipe.
Keep this routine consistent so the metallic gold foil never receives repeated wet abrasion during the day.
Day 4 — Spot Treatment for Polish, Glue or Sticky Residue
When a polish spill or a tiny glue dot lands on the printed motif, act precisely. Your objective is to remove the contaminant without waterlogging the printed foil or soft sponge beneath.
- Gently lift dried polish flakes with a soft wooden or plastic tool at a low angle—do not scrape metal-printed areas aggressively.
- Apply a small amount of pH‑neutral cleaner to a folded disposable cloth and blot the spot from the outside in.
- If tacky residue remains, use a single lightly dampened cotton swab to localize moisture; follow immediately with a dry microfiber.
These targeted steps prevent solvent spread and minimize foil abrasion. If a stain resists, move the armrest out of rotation for deeper care the following day.
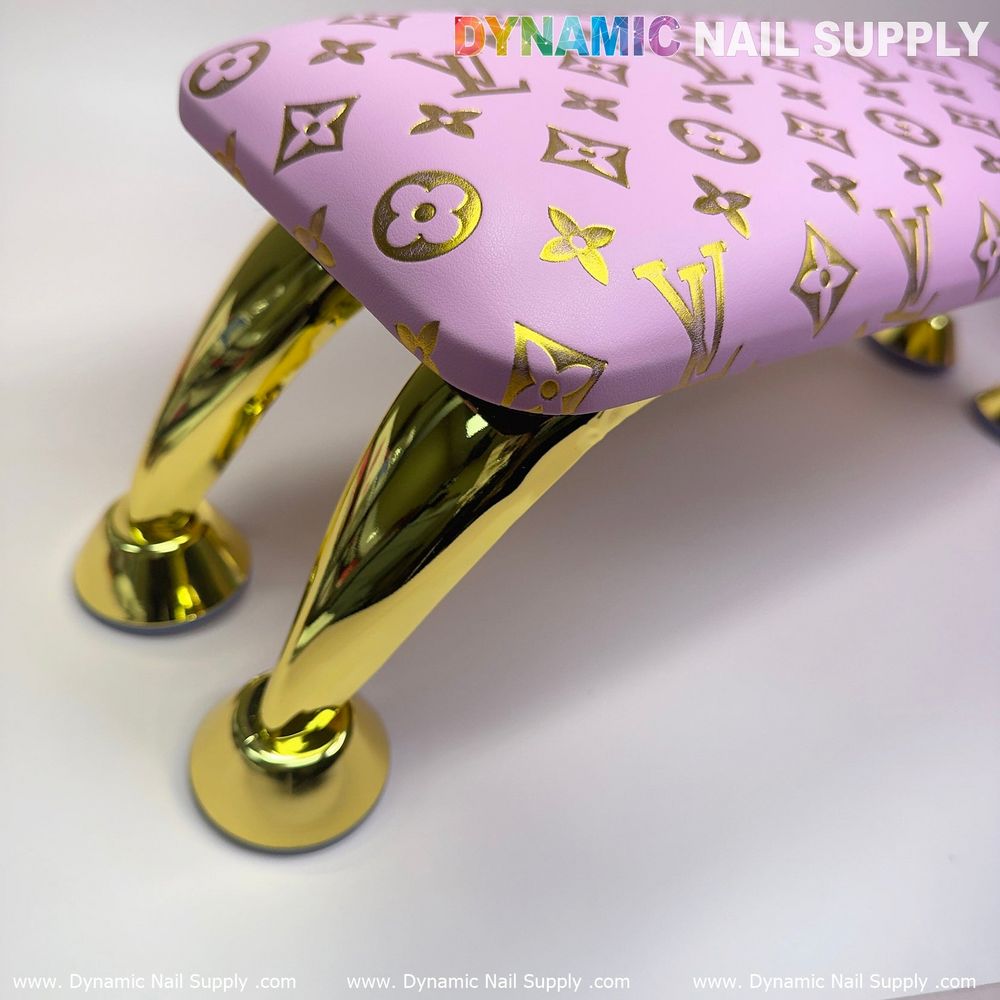
Close-up of smooth matte faux-leather and foil print
Day 5 — Weekly Deeper Clean and Chrome Leg Care
Schedule a weekly maintenance window when traffic is light. This is when you will perform a controlled deeper clean and polish the legs to maintain shine.
- Remove the cushion if your variant allows it; if not, work around the base.
- Gently vacuum any loose dust from seams using a brush attachment.
- Use a soft microfiber with a mild, low‑moisture cleaner to wipe the entire pillow surface in one direction.
- Dry immediately with a second clean microfiber to avoid moisture seeping into seams or sponge.
- Polish chrome and gold-tone legs with a non-abrasive metal cleaner applied to cloth, not directly on metal; buff to shine and check anti-slip bracket for residue.
Special Attention: Set: Cushion + Silver Legs
The Set: Cushion + Silver Legs option pairs the pink and metallic gold motif with polished chrome legs finished in silver tone. When you care for this combination, emphasize careful leg‑to‑cushion transitions: water or cleaner rundown is the most common cause of foil degradation where metal meets faux‑leather.
Always wipe the legs first, then the cushion. That sequence prevents collected leg polish from dripping onto the printed top and dulling the gold foil. If you store a UV lamp under the cushion for the space-saving fit you enjoy, ensure the lamp surface is clean and completely dry before returning the armrest to its position.
For product reference while you plan your kit, see the item here: https://dynamicnailsupply.com/products/white-lv-pattern-full-grain-leather-armrest-cushion-pillow-for-pedicure-manicure-reposabrazos-para-manicura-1
Day 6 — Damage Prevention and Light Repairs
Inspect stitching, seams, and the printed pattern for micro‑cracks. Your routine should prioritize prevention: avoid high‑alcohol sprays, never immerse the cushion, and never scrub printed motifs. Small edge scuffs can sometimes be concealed by a matched, salon-safe conditioner applied sparingly and buffed immediately; test first on the hidden spot. Replace the pad if the sponge integrity or print delaminates.
Treat the printed metallic motif like a delicate finish: low moisture, single-pass cleaning, and immediate drying preserve its shine.
Day 7 — Policy, Training and Final Safety Notes
Finalize a one-page policy for technicians covering the daily quick routine, spot treatment steps, weekly maintenance, and when to pull an armrest from circulation. Run a brief competency check: each tech performs a test spot treatment under supervision.
Mention price if useful when planning replacements—this product ranges from $15 to $30 and prices may change. Keep a replacement cadence in your inventory plan based on observed wear, not guesses.
Care and safety reminder: avoid solvents, do not soak the cushion, keep cleaners pH‑neutral, and always dry immediately to prevent cracking of the printed foil and damage to the underlying sponge.