
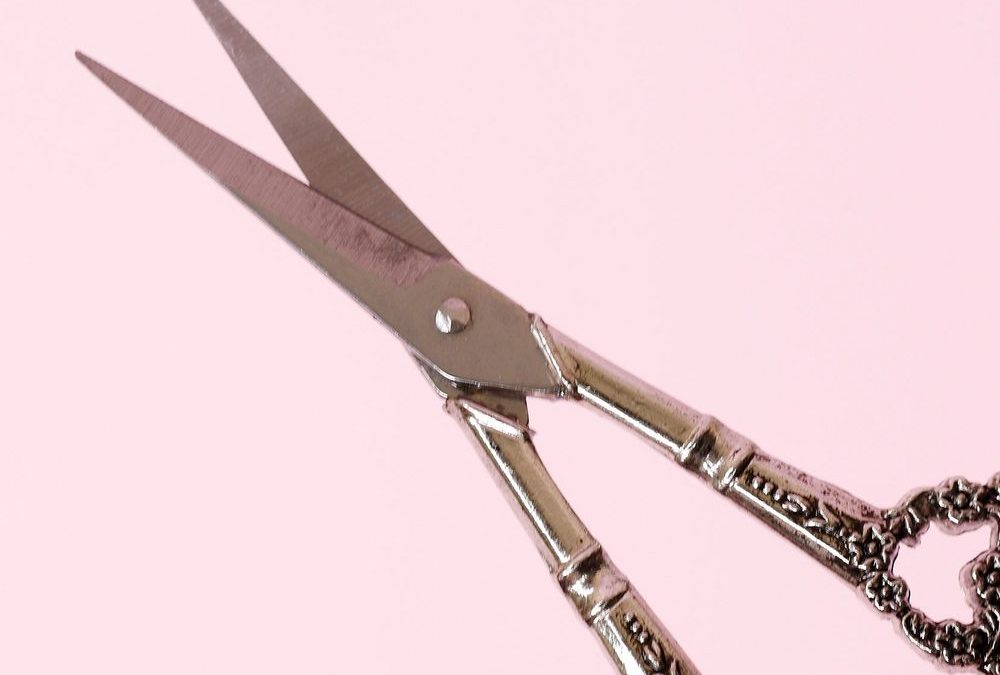
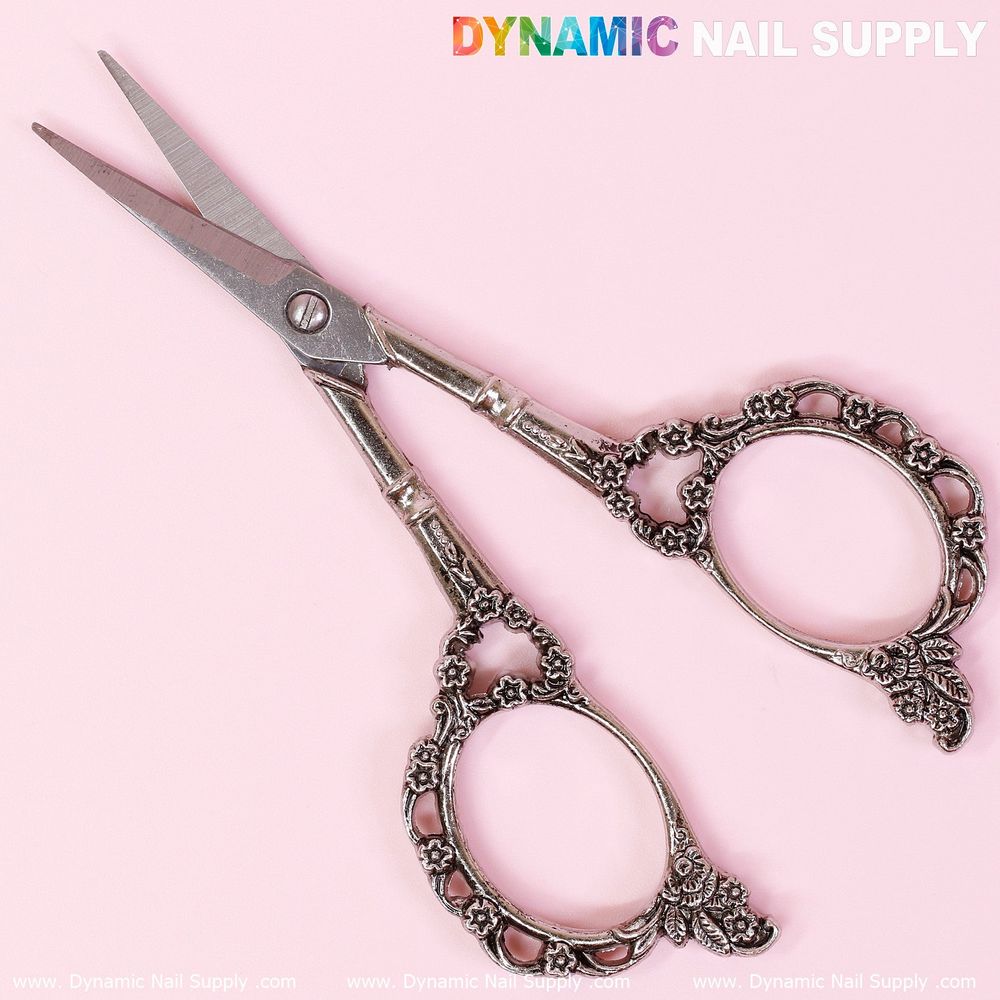
Antique rose-gold handle with polished blade contrast.
Master the curved nail scissors technique with a concise, day-by-day practice plan designed for salon use.
Day 1 — Visual Familiarization and Workstation Setup
Begin by studying the tool. Place the Multi-Functional Stainless Steel Nail Scissors on a clean, well-lit surface set against a pastel backdrop to appreciate finish and balance. Notice the ornate, filigree-style handles with their antiqued texture and the contrasting polished steel blades. Familiarity with how the weight sits in your dominant hand prevents fumbled starts.
Goal: identify grip points, dominant hand positioning, and create a hygienic layout: towel, disinfectant, cotton, bowl of warm water, and magnifier if you use one.
Day 2 — Basic Grip, Finger Placement, and Blade Orientation
Practice a neutral grip: hold the scissor handles with thumb and middle finger while the index finger stabilizes at the handle’s curve. The ornate handles are decorative but functional; allow the thumb and finger pads to rest comfortably in the openings so the filigree supports rather than impedes control.
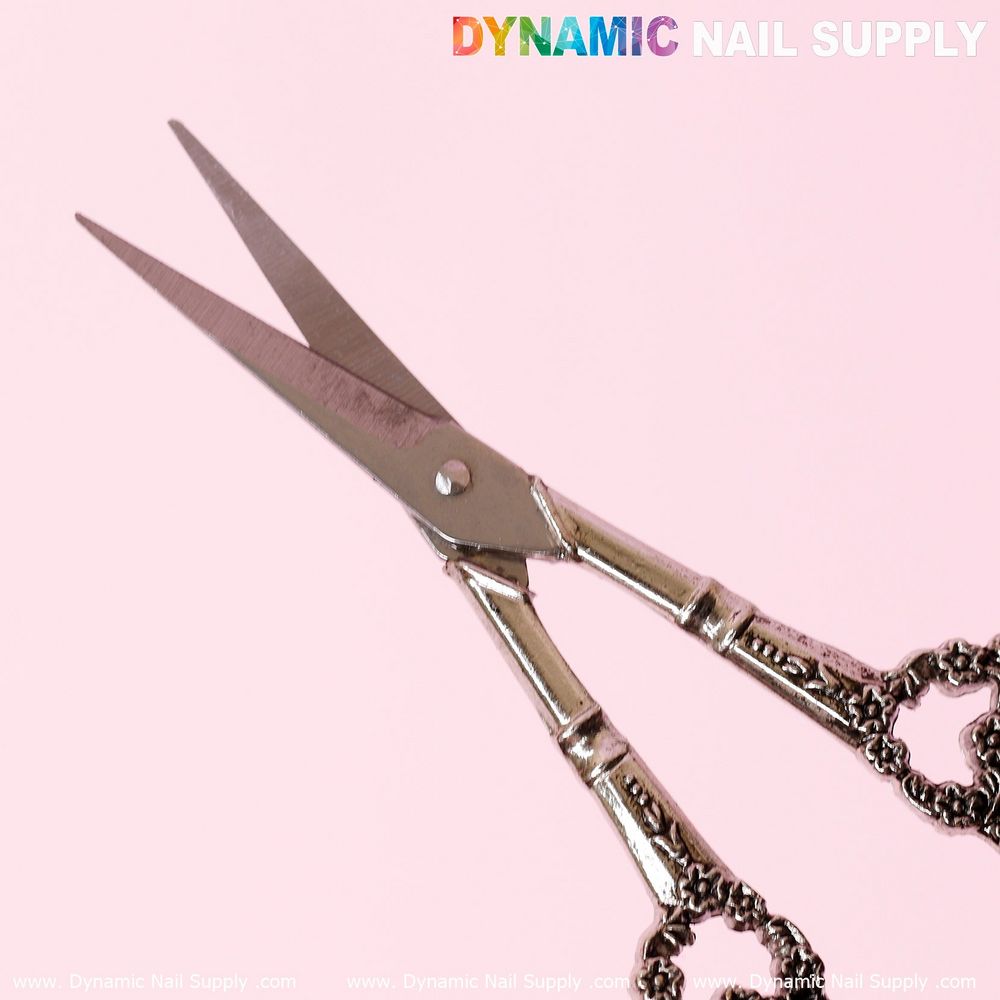
Use the curved blades’ polished edge to visualize the cutting arc. Without cutting, trace the arc several times over a piece of paper or a soft orange stick to internalize the motion.
Goal: achieve a steady, repeatable grip and clean blade arc visualization in ten uninterrupted repetitions for each hand.
Day 3 — Controlled Snips on Artificial Hangnail Material
Prepare practice material that mimics thin hangnails — a soft craft thread or thin strip of cotton works well. Gently lift the simulated hangnail with a cuticle pusher and position the curved blade so the inner curve cups the lifted material.
Important technique: close the blades with a slow, decisive motion using the pads of your fingers rather than a full wrist snap. The curved shape lets you cut from tip toward base with less chance of tearing the surrounding skin when executed smoothly.
Goal: make 15 clean snips without pulling fibers or compressing the surrounding material.
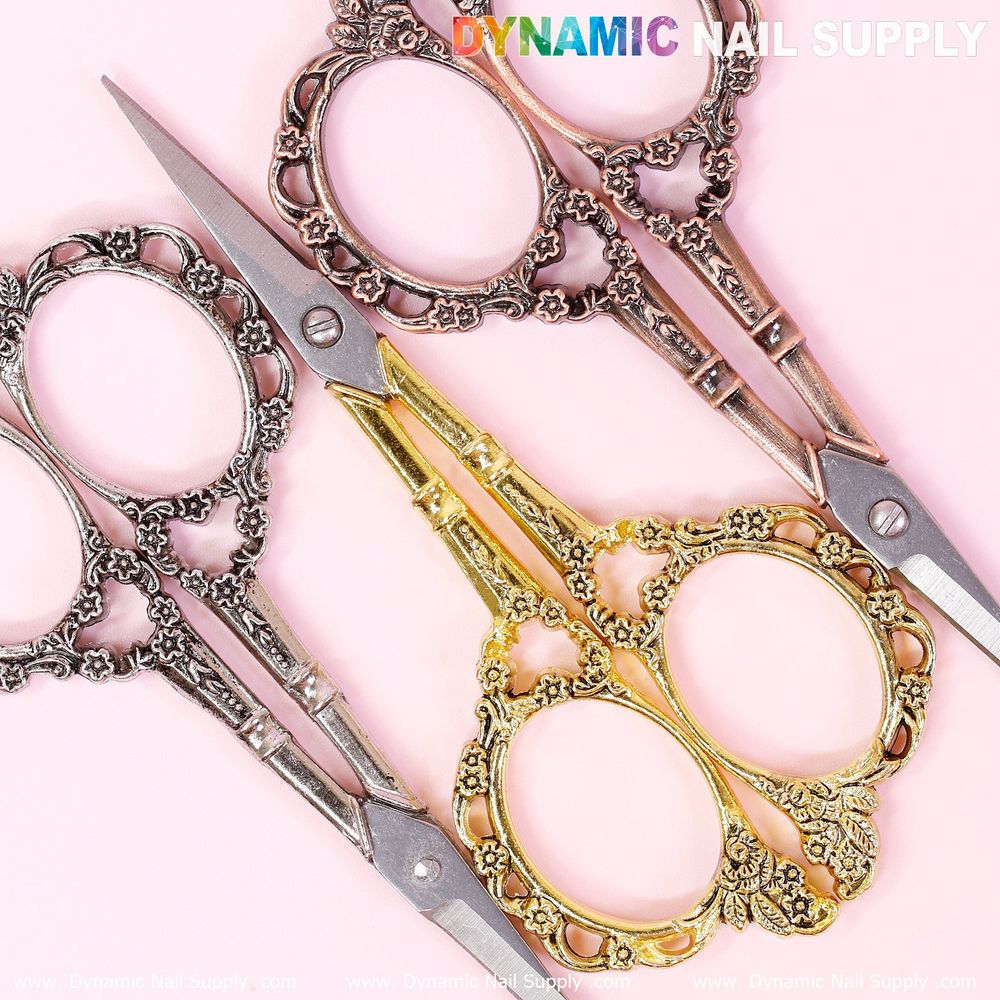
Silver option shows subdued matte finish for low glare.
Day 4 — Cuticle Trimming Motion and Hand Stabilization
Work on small, precise cuts at the lateral fold. Brace your working hand on the client’s finger or a stable surface to limit unwanted travel. Angle the curved blades slightly away from the nail plate so you catch only dead cuticle tissue.
Let the curve guide the cut — position the inner arc to cradle the tissue before making a single, firm closure.
Goal: three controlled cuts per finger, focusing on limiting blade exposure to reduce risk of nicking live skin.
Day 5 — Mixed-Metal Visual Cueing and Contrast Use
The scissors’ mixed-metal presentation — bright gold and rose-gold ornate handles against silver blades — provides visual cues. Use the polished blade edge to align with the natural nail curve while the warm-toned handles indicate grip orientation. When light reflects differently across metals, adjust your viewing angle to keep blade visibility high.
Practice under both warm and cool lighting to ensure you can maintain precise blade-to-cuticle alignment in varied salon lamps.
Goal: perform a full, trimmed lateral cuticle pass on both hands within a standard appointment timeframe without sacrificing precision.
Day 6 — Real-Finger Practice and Timing
Under sanitized conditions, perform the technique on consenting models or between team members. Start with a soak and gentle push-back of cuticle tissue. Use the curved blades for targeted removal of only detached tissue and small hangnails. Keep cuts shallow and finish with a smoothing motion across the edge to confirm no rough tips remain.
Note the importance of a firm but relaxed hand—tension transmits to blade motion. If you encounter resistance, stop and reassess angle rather than forcing a cut.
Goal: complete precision removal on one hand in under 10 minutes while maintaining a zero-nick result.
Day 7 — Workflow Integration and Client Comfort
Mixed-metal scissors on soft pastel pink background.
Integrate the technique into your full manicure routine. Sequence: pre-cleanse, soak, push-back, targeted curved scissors removal, buff, and finish. Communicate each step to the client and maintain finger support to reduce startle and sudden movement.
Practice transitions: after removing hangnails, immediately switch to a gentle oil application and massage to soothe the area.
Goal: deliver a calm, efficient cuticle and hangnail service that respects client comfort and leaves the nail area ready for polish or treatment.
Special Attention: Silver Option And Its Practical Visuals
The Silver variant presents a matte silver-gray handle paired with stainless steel gray blades. That subtler finish reduces glare under bright lamps, helping you see the blade edge clearly without strong reflections. If your station uses intense LED lighting, the matte silver option can be especially forgiving for precise visual alignment.
Practice tip: when using the Silver scissors, orient your light to increase contrast between the blade’s inner curve and the surrounding skin — this small adjustment improves micro-precision when trimming along the lateral fold.
Maintenance, Sterilization, And Safety Reminders
After each use, clean the blades with approved disinfectant, dry thoroughly, and store in a protective sleeve. Check the hinge before every shift; a loose joint reduces control. Replace scissors if blades do not meet clean closures or show visible damage.
Safety note: never cut live inflamed tissue. If you see bleeding or pain beyond mild sensitivity, stop and treat per your salon’s medical protocol. Use the curved blades only for small, controlled removals and always support the finger to prevent sudden movement.
For purchase details and the available color options, including the matte silver-gray variant, consider this recommended tool listing: Multi-Functional Stainless Steel Nail Scissors
Prices may change; current listing showed $5.79 at time of drafting.
Care and safety reminder: handle with respect, keep sterile between clients, and avoid cutting live skin to minimize risk.