
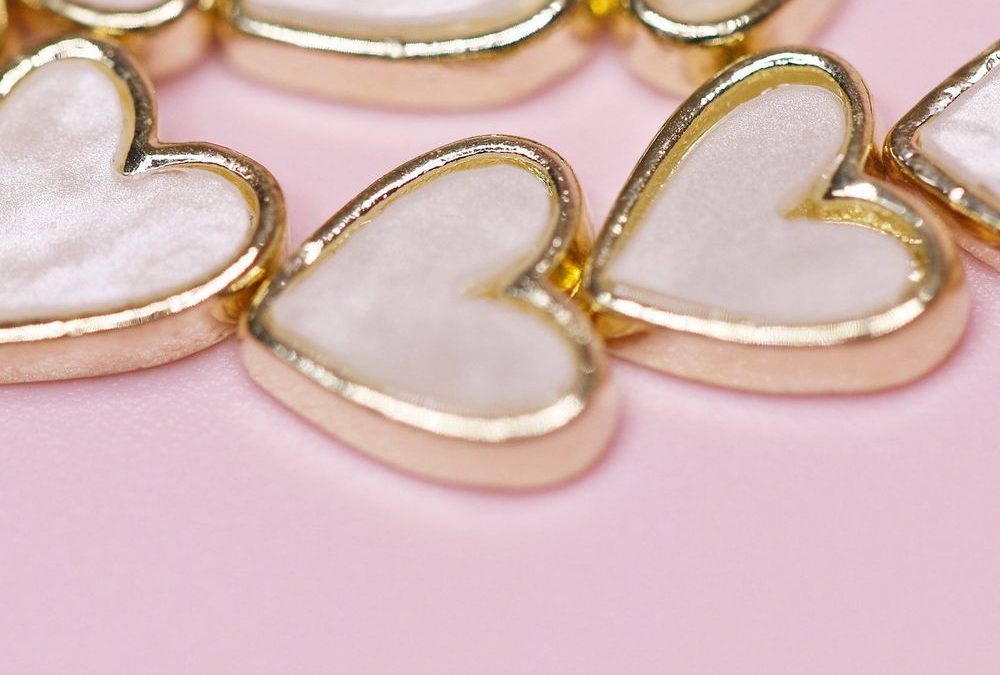
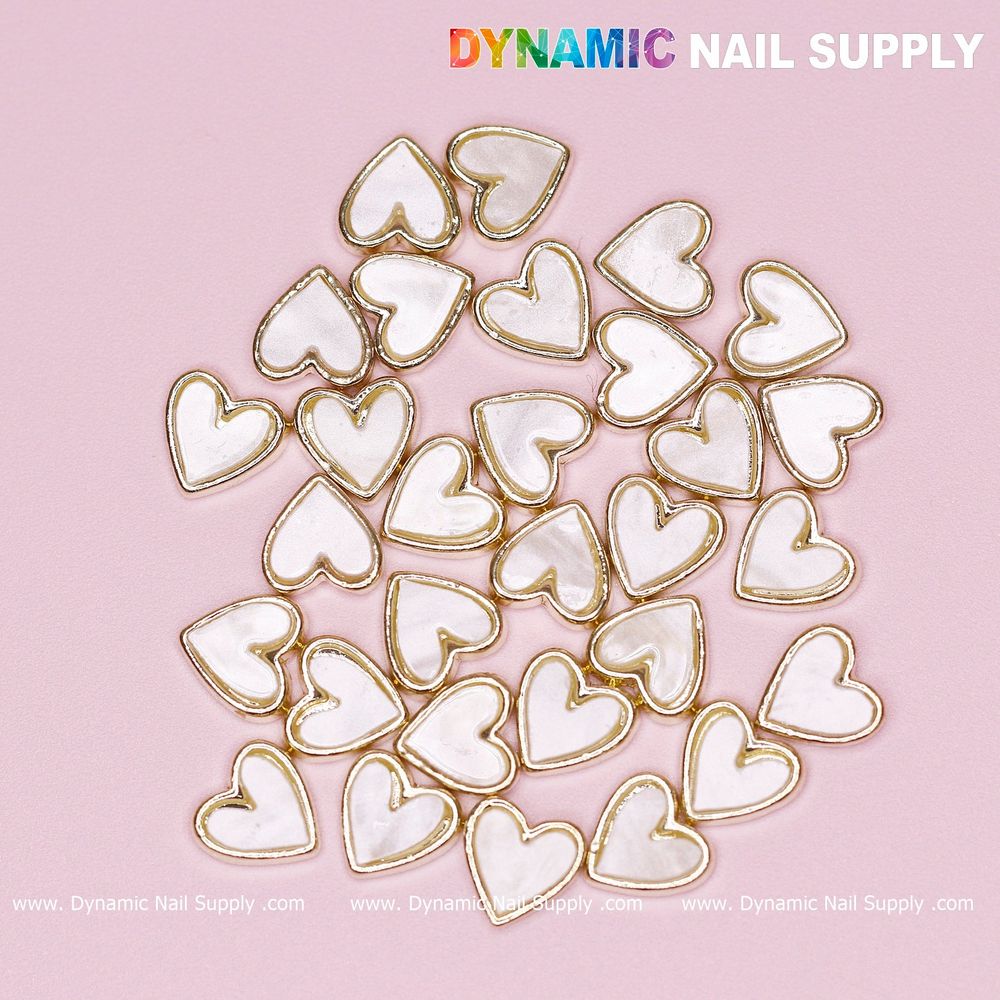
Pearl-white hearts outlined in gold
Confident handling and consistent placement lift a romantic nail accent from pretty to professional.
Week Overview: goals and materials for learning heart charm application
In one week you will move from basic handling to timed salon-ready application. Aim to practice each skill until you can repeat it reliably five times in a row. Gather base and top coat, nail glue or gel adhesive, a fine tweezer, a micro brush, and a small cure lamp if you use gel. Keep the charms in their blush-pink presentation so you can practice layout and spacing before committing to adhesive.
Day 1: Familiarize yourself with the charms and visual placement
Goal: learn the visual language of the pieces and decide common placements.
Begin by studying the charms off-nail. Note the creamy mother-of-pearl center and the thin metallic gold rim. That slightly iridescent center reflects light differently than flat white; it sits best where subtle sheen is desirable rather than stark contrast. Arrange a set of three to five on a practice palette in the positions you typically use: near the cuticle, at a smile line, and scattered across the nail. Photograph each arrangement so you can compare symmetry and balance.
Day 2: Tweezers, orientation, and left-right consistency
Goal: 10 correct pickups and placements per hand without repositioning.
Use a fine-point tweezer to pick up charms from the blush background. Practice rotating the charm so the gold rim faces the same direction across nails when needed. Because these charms are small and flat, a light, confident grip reduces slips. Work slowly: lift, orient, and set the charm on a clean practice tip or sticky pad. Focus on achieving uniform spacing along a cuticle row or evenly scattered across shorter nails.
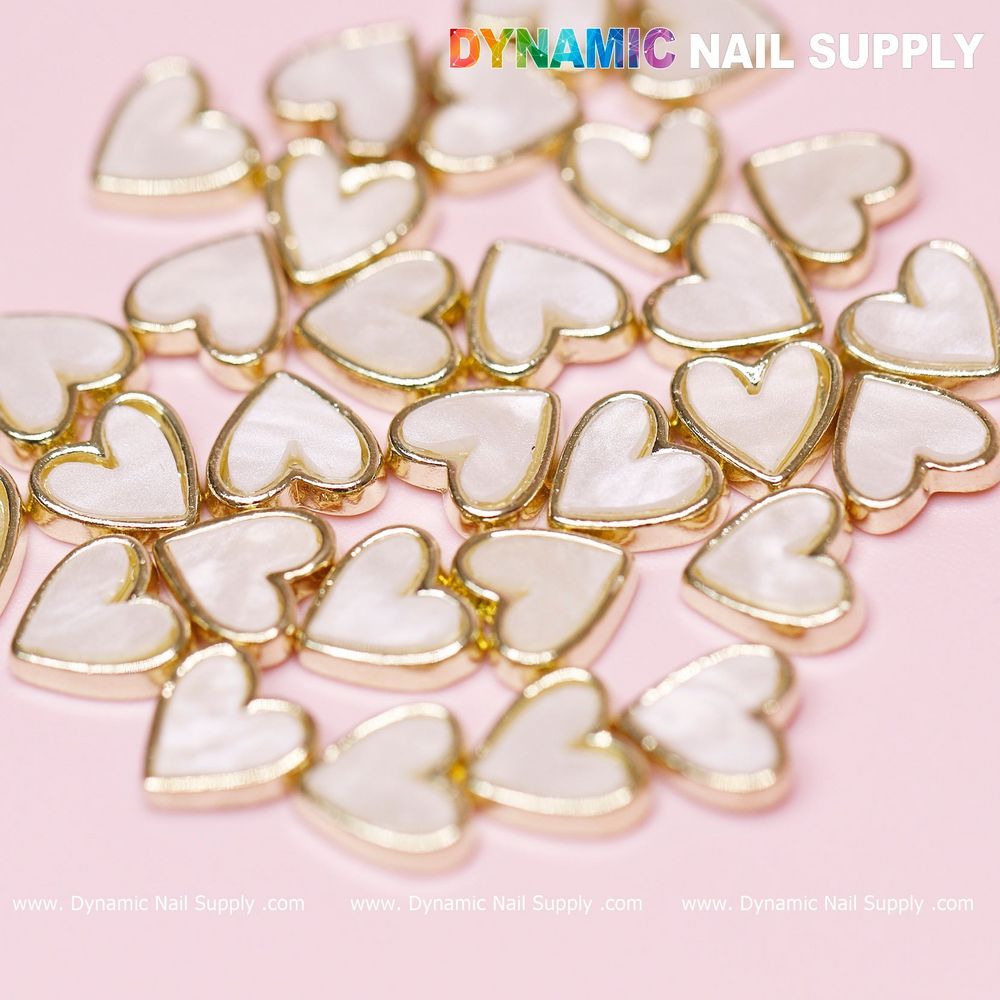
Delicate charms set on soft pink backdrop
Day 3: Adhesive selection and wet placement technique
Goal: master correct adhesive amount and wet placement for one-hand application.
Test small dots of adhesive—nail glue or a dab of builder gel—on practice tips to determine the right volume. The charms have a smooth, glossy underside; too much glue will overflow the gold rim and too little will fail to secure. Practice pressing the charm into the adhesive and holding for a count appropriate to your product: instant set for glue, short cure for gel. Clean up excess adhesive around the rim promptly with a micro brush before it fully cures.
Day 4: Layered looks and mixed-material placement
Goal: execute three layered compositions using the charm as the focal point.
Combine the heart charms with other small accents—thin metallic flakes, tiny rhinestones, or painted details. Because the heart has a pearlescent center, pair it with matte backgrounds or soft chrome polishes to create contrast. Practice anchoring the charm first, then building layers around it. Keep the gold rim visible; avoid overlays that obscure that thin outline, as it is the piece’s luxe signal.
Day 5: Speed and quality—timed set creation
Goal: complete a single-hand five-nail set in a salon-friendly time while maintaining placement quality.
Set a timer and recreate one of your earlier layouts within your target service window. Time includes prep, base coat, placement, top coat, and any curing. Track common slow points—grip changes, repositioning, or adhesive cleanup—and refine technique. Repeat until you can meet both speed and consistent visual placement.
Day 6: Troubleshooting adhesion and durability
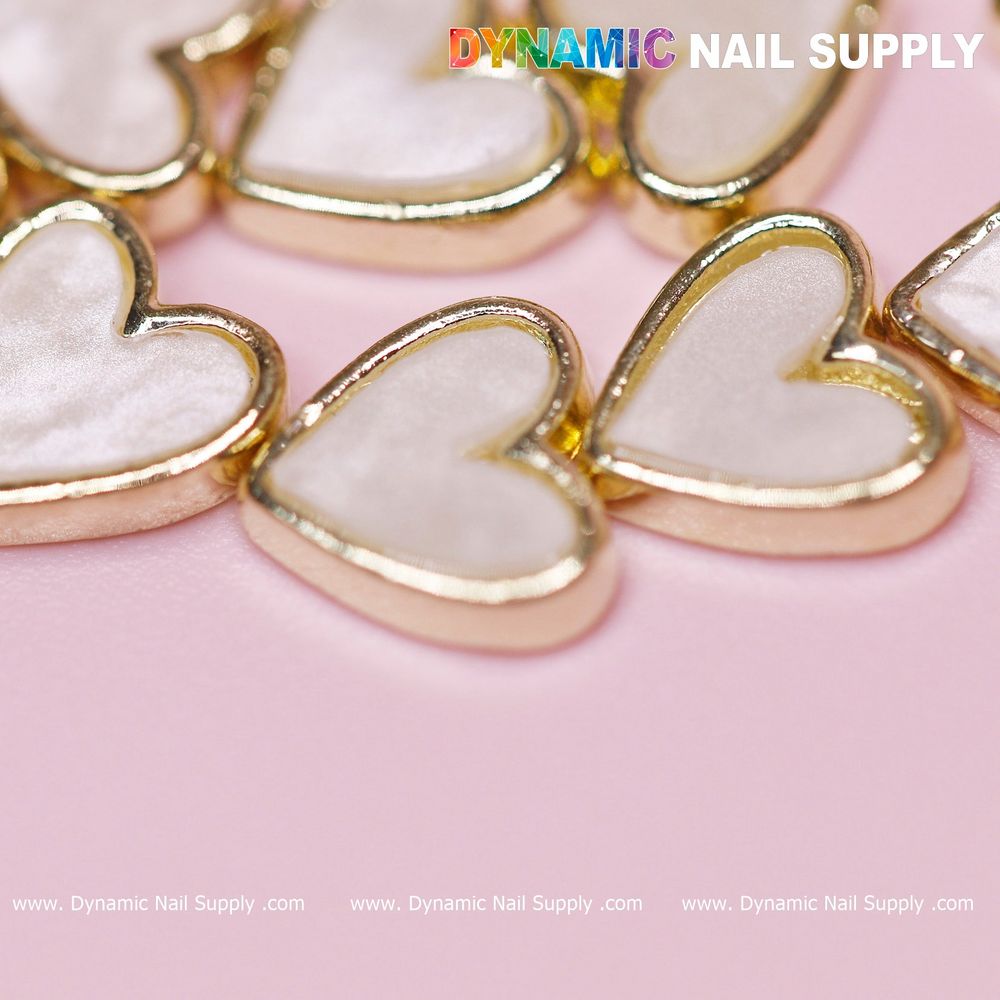
Flat heart accents sized for nail placement
Goal: identify and fix three common adhesion issues on practice sets.
Test for lifting after light wear simulations: gentle tapping, flexing the practice tip, and brief exposure to water. If lifting occurs at the edges, it usually indicates insufficient adhesive or contamination on the nail. Practice cleaning the nail surface, applying a primer if appropriate, and reapplying with slightly more gel in a controlled bead. For edge chipping of the gold rim, avoid curing under direct heat and ensure the top coat covers the rim slightly without dulling the sheen.
Day 7: Salon-ready set and client communication
Goal: deliver a complete, durable Valentine-themed accent set while explaining care to a client.
Perform a full service on a live model or a realistic practice hand. Use the learned workflow: prep, base, precise placement, layered accents where desired, and a sealing top coat. Time the procedure and inspect under consistent lighting. Practice the verbal rundown you will offer clients: gentle handling, avoiding strong impact on the charm edge, and recommended reapplication intervals. Mention price transparently if you add an extra charge—the charms retail at $6.55 per set and prices may change.
Small accents demand the same disciplined workflow as complex sets—precision is non-negotiable.
Final steps: documentation, storage, and a brief safety note
Document your favorite placements and construction steps with close-up photos and a short spec sheet for technicians. Store the charms flat and separate from abrasives to keep the gold rim unscuffed. Handle adhesives with gloves and adequate ventilation; avoid inhaling fumes from glues and clean spills promptly. Keep charms away from small children; they are small components intended for professional use.
When you’re ready to add these delicate mother-of-pearl white hearts to your seasonal menu, consider a practice-first rollout so technicians gain confidence before offering the look as a standard service, and use white heart charms set in portfolio images and service descriptions.