
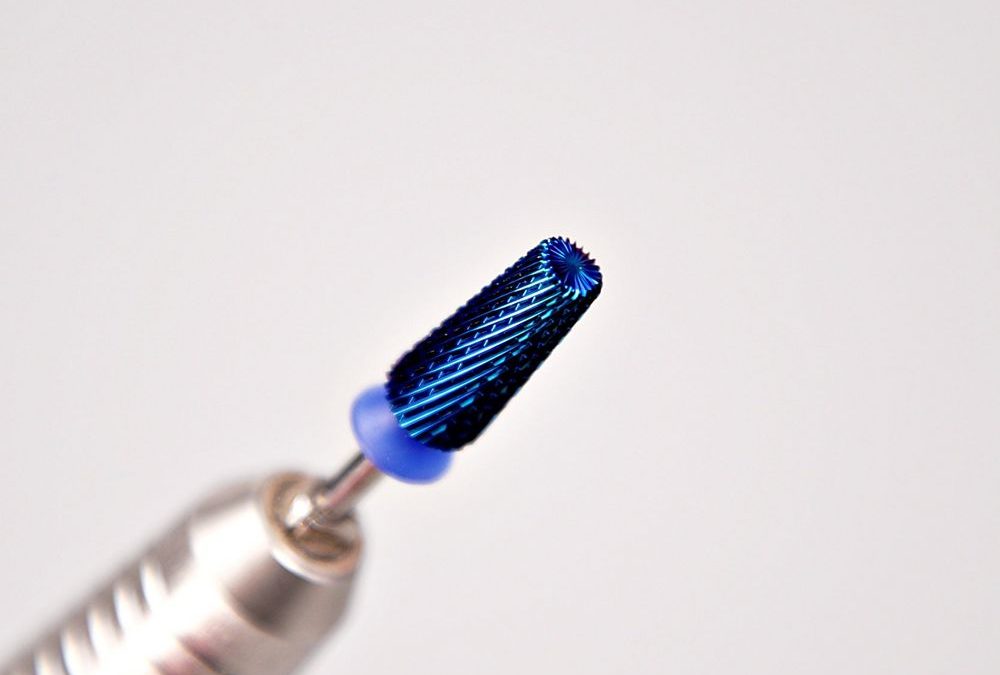
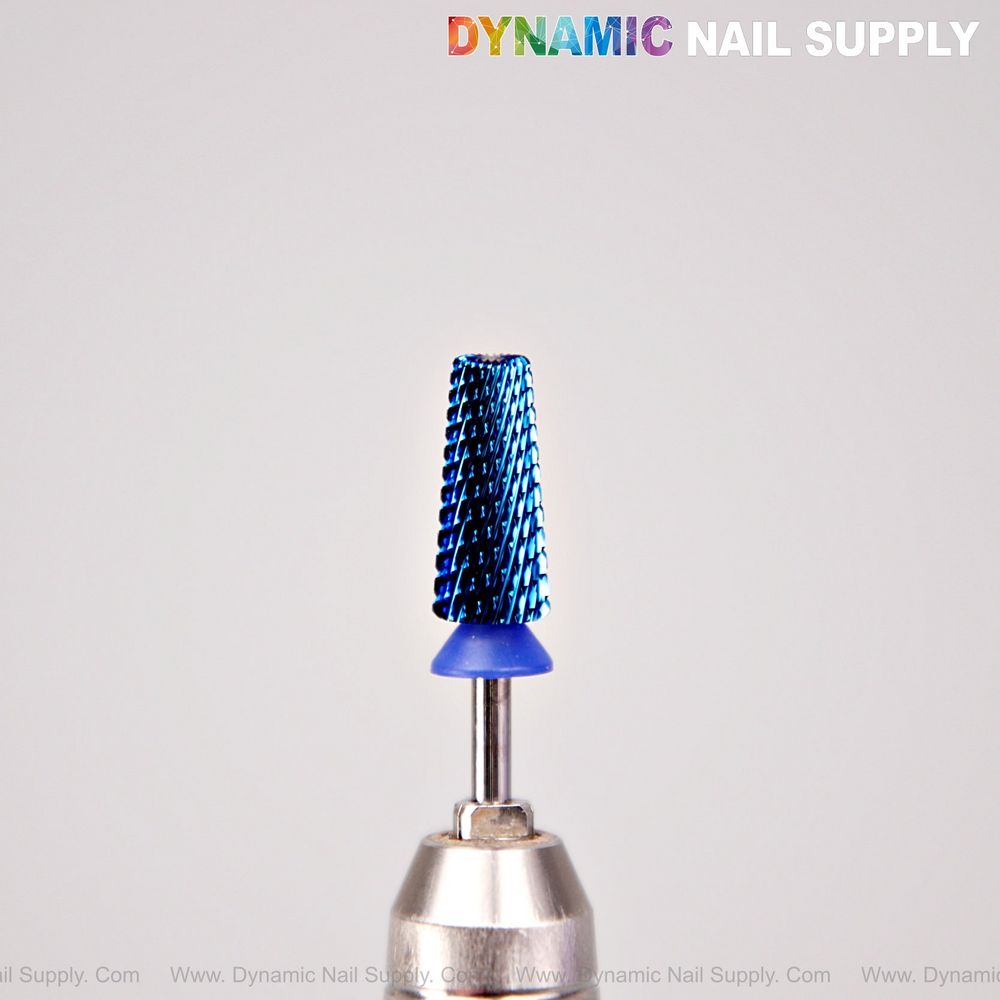
Tapered medium cross-cut bit in electric-blue finish
Master a routine that protects the anodized blue finish and periwinkle stopper while you sanitize cross cut drill bit after every client.
Day 1 — Inspect and Establish Baseline Care
Begin by visually inspecting the 5-in-1 Medium Cross Cut Drill Bit for visible debris, wear and the integrity of the periwinkle rubber stopper. The bright electric-blue coating and pronounced diagonal fluting are aesthetic and functional; any clogged grooves will reduce cutting performance and increase friction.
Your goal: learn the bit’s zones—tip, upper barrel, mid barrel, lower base and under-nail taper—and note where debris accumulates during typical services.
Day 2 — Dry Debris Removal Technique
Practice removing loose product without liquids first. Use a soft nylon brush or dedicated bit-cleaning brush while holding the bit in a holder or a powered handpiece at low speed. Brush along the cross-cut ridges in short, controlled strokes to dislodge particles from the diagonal fluting. Avoid metal picks or hard tools that can nick the anodized surface.
Goal: achieve consistent, visible cleanliness across all five zones without touching the rubber stopper.
Day 3 — Ultrasonic Cleaning Trials
Introduce an ultrasonic bath with a mild enzymatic or non-corrosive detergent designed for salon tools. Place the bit in a mesh tray so the periwinkle rubber stopper does not press against the tank base. Run a short cycle (3–5 minutes) and observe the blue finish afterward.
Goal: confirm that the anodized coating remains intact and that the cross-cut texture is free of embedded debris. If you notice dulling, reduce the cycle time or switch detergents.
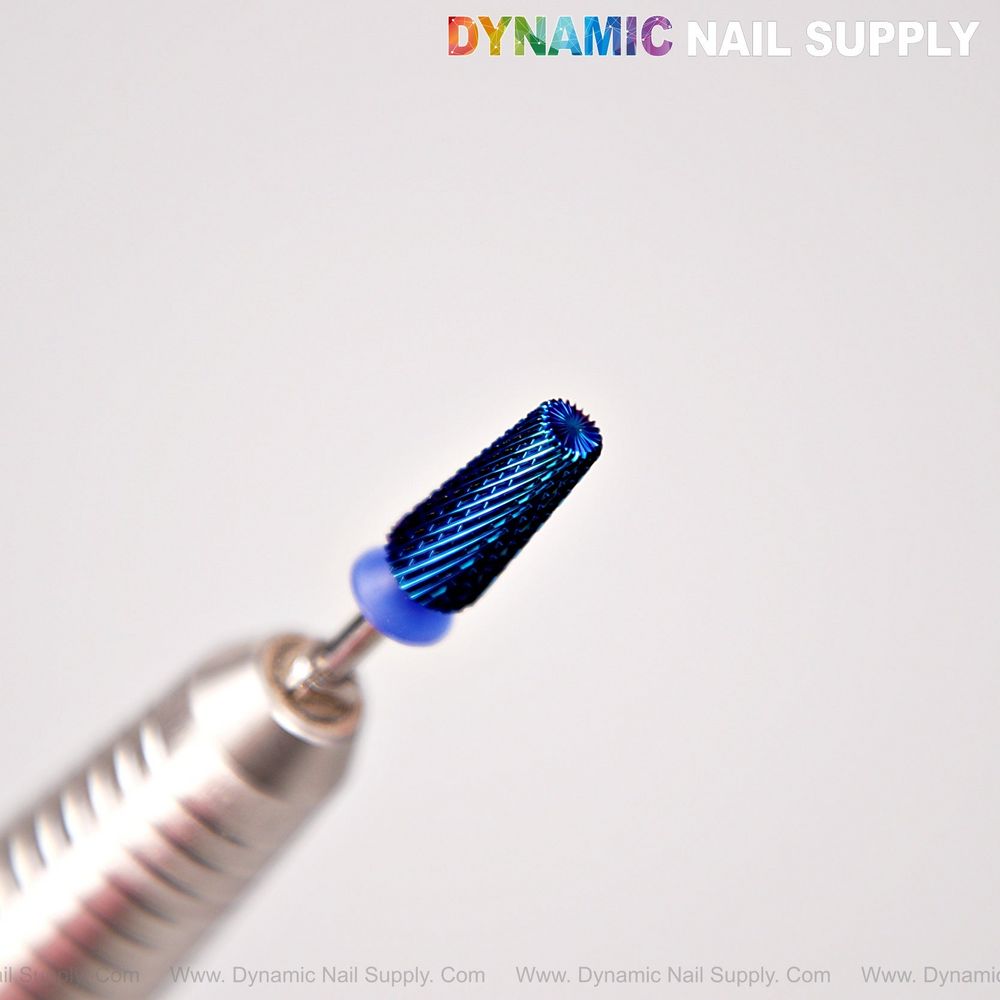
Periwinkle rubber stopper and pronounced diagonal fluting
Day 4 — Disinfection Protocols That Respect Coating
Move to chemical disinfection. Choose an EPA-registered high-level disinfectant compatible with carbide and coatings (follow manufacturer instructions). Use a spray-and-wipe method: apply disinfectant to a lint-free wipe and thoroughly cover the bit, avoiding prolonged soaking that can degrade the rubber stopper over time.
Wear gloves and work over a soft towel. Finally, air-dry the bit on a clean, padded surface. Goal: leave a bactericidal contact while preserving the electric-blue finish and preventing rubber swelling.
Day 5 — Autoclave Compatibility and Cycle Practice
Confirm whether your autoclave is rated for carbide bits and rubber components. Many YG6X carbide bits tolerate steam sterilization, but the rubber stopper can be sensitive to high heat. If you plan to autoclave, remove the periwinkle stopper first and place the bit in a mesh cassette to prevent contact with hard surfaces.
Run a validation cycle with a single bit, then inspect the finish for any microfractures, discoloration, or loosening of the stopper. Goal: establish a consistent autoclave routine that does not compromise coating or geometry.
Day 6 — Handling, Storage and Cross-Contamination Controls
Practice standardized handling: always secure the bit in a holder when not in use, store it upright in a padded cassette, and label trays to indicate cleaned versus used. The bright anodized blue makes visual identification easy at a glance—use that to enforce separation of sterile and non-sterile tools in your prep area.
Goal: build a one-person workflow that minimizes touch points and the risk of transferring debris between clients.
Day 7 — Full-Service Run-Through and Timing
Do a timed practice where you perform the entire cleaning pathway after a mock service: dry brush, ultrasonic, wipe-disinfect, remove stopper for autoclave (if applicable), and place back into storage. Note total time and bottlenecks. Adjust dwell times and tools to keep the workflow efficient for a busy salon day.
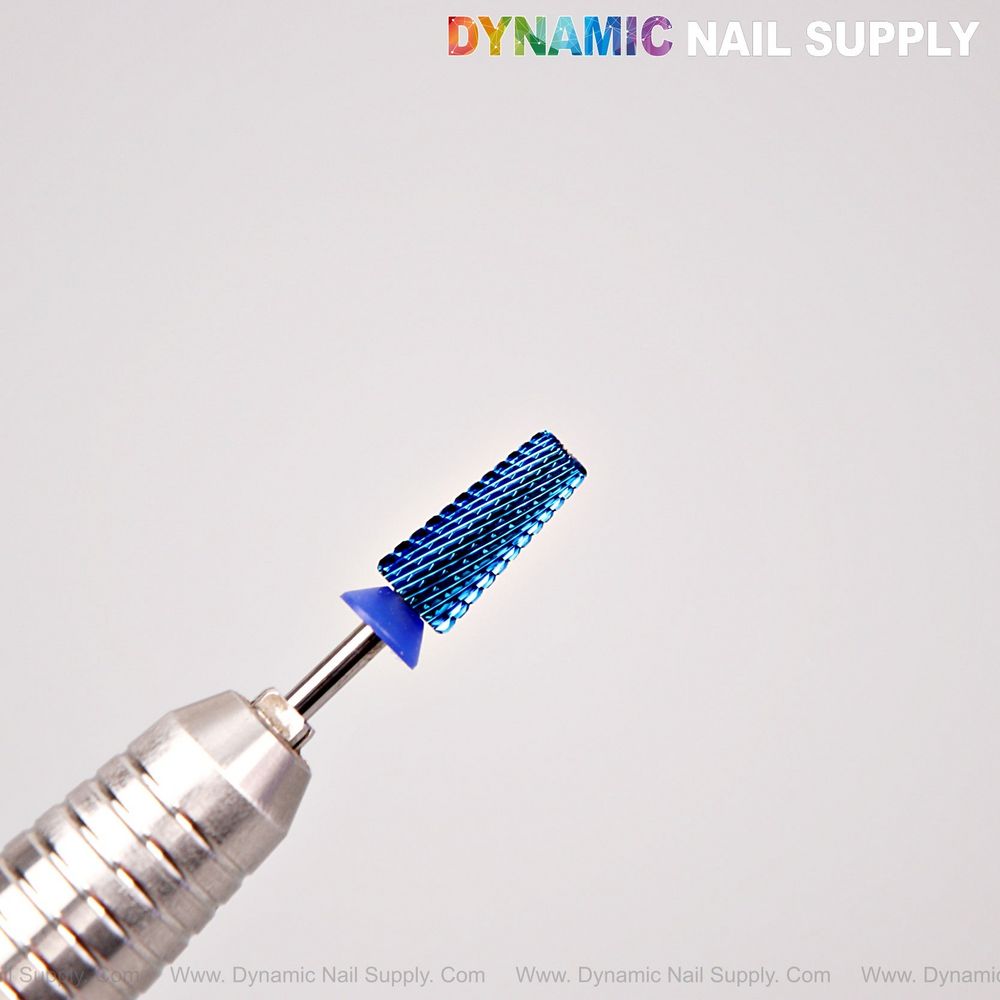
Clinical studio look with brushed silver handpiece visible
Goal: produce a repeatable, salon-ready protocol that fits your service pace without cutting corners on hygiene.
Quick Reference: Gentle Materials and Tools
- Soft nylon or boar-hair brushes for fluted surfaces
- Mesh trays and padded cassettes for ultrasonic/autoclave runs
- Lint-free wipes and EPA-registered disinfectant sprays compatible with carbide
- Personal protective equipment—gloves and eye protection—during chemical use
The right sequence—dry brush, ultrasonic, targeted disinfection, and careful autoclaving—protects finish and function.
Common Pitfalls and How to Avoid Them
Avoid prolonged chemical soaking, aggressive scraping of cross-cut flutes, and dropping the bit onto hard floors; each damages geometry or the anodized layer. If you autoclave with the rubber stopper attached, it may deform or crack—remove it first when possible. Also, never mix used and cleaned bits in the same open tray.
Implementing the Plan in Your Salon
Train staff to follow the seven-day sequence as a standard operating procedure. Post the timed checklist near your sterilization station. For budgeting: this specific 5-in-1 Medium Cross Cut Drill Bit retails at $9.99, prices may change—factor replacement bits into your inventory plan.
Reference the tool here: 5-in-1 Medium Cross Cut Drill Bit
Care and safety reminder: always handle carbide bits with care—secure them in holders, avoid dropping them, and follow your disinfectant and autoclave manufacturers’ instructions to maintain client safety and tool longevity.