
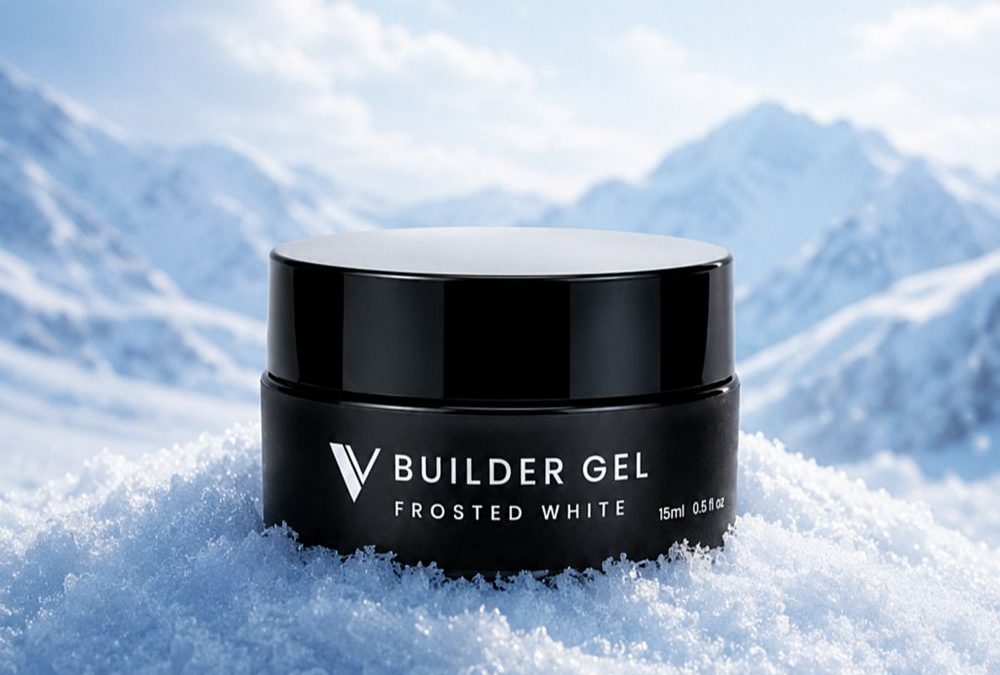
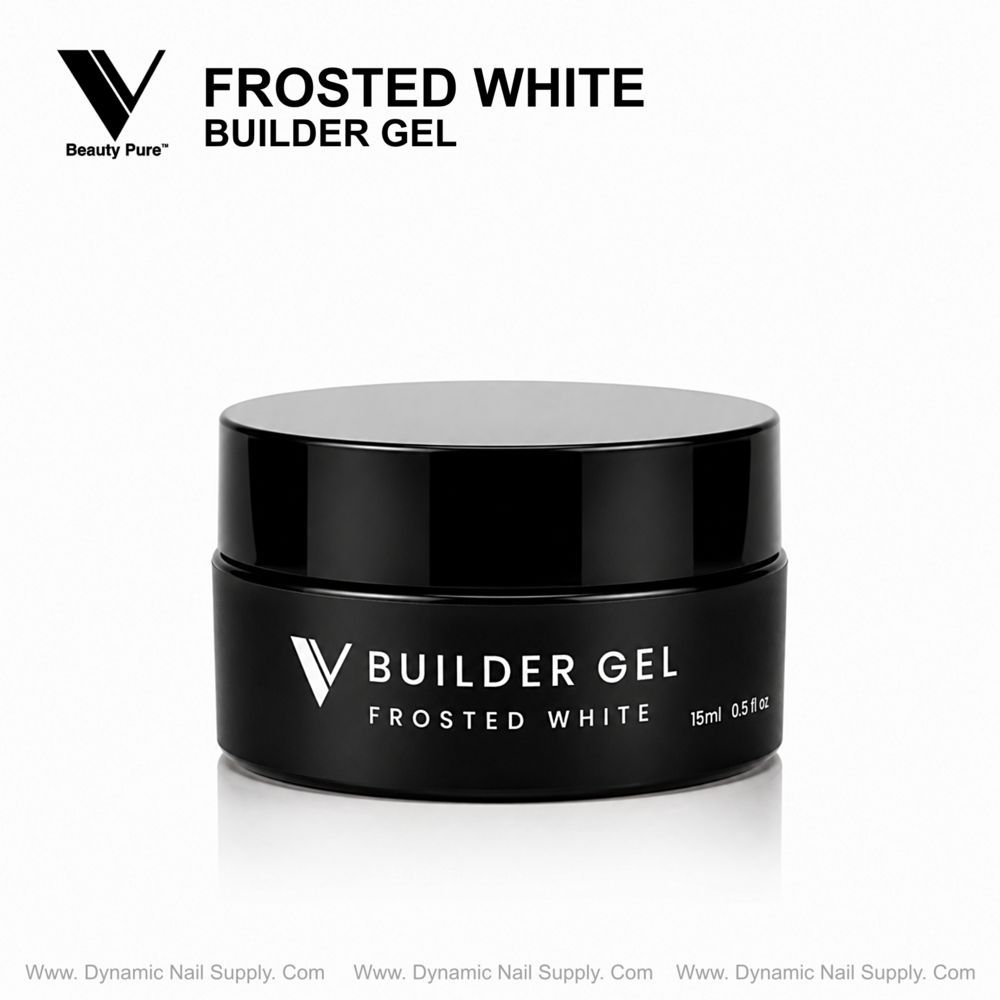
Frosted milky-white gel in a glossy black jar.
You can achieve soft-focus, milky almond bridal nails that photograph beautifully and hold up under wear.
Salon Prep: tools, station layout, and product focus for Frosted White Builder Gel
Set a compact, sterile workstation where light, contrast, and storage are deliberate. Keep your glossy black jar of Frosted White Builder Gel within reach, a clean palette of cotton, lint-free wipes, cleanser, forms or tips, a medium-viscosity-suited brush, and a reliable UV/LED lamp. Lay out a selection of nail forms and medium-grit files so you can practice both sculpting and overlays.
Map client hand posture and lighting. Frosted White performs best when you can see edges clearly; warm, diffuse light helps you judge the frosted-milky translucency against warm skin tones.
Week plan: a day-by-day practice schedule to refine shape, translucency, and speed
Use this plan to train technicians on consistent placement of the soft milky pigment, balanced apex building, and glossy finishing for photos.
Day 1 — Fundamental prep and one-nail study
- Goal: perfect natural nail prep and mapping for almond shapes.
- Practice: cleanse, push cuticles, refine sidewalls, and lightly buff the nail plate on five natural nails or a single practice tip.
- Focus: clean cuticle clearance so Frosted White settles without flooding; note how the milky pigment reads on warm skin tones.
Day 2 — Thin overlay practice with Frosted White
- Goal: achieve a sheer, milky translucent overlay that still offers structure.
- Practice: apply thin beads to the center, allow self-leveling action, and cure. Practice removing tack layer and light finishing to reveal a glossy milky sheen.
- Focus: keep the finish glossy rather than heavy texture—this is essential for bridal photography.
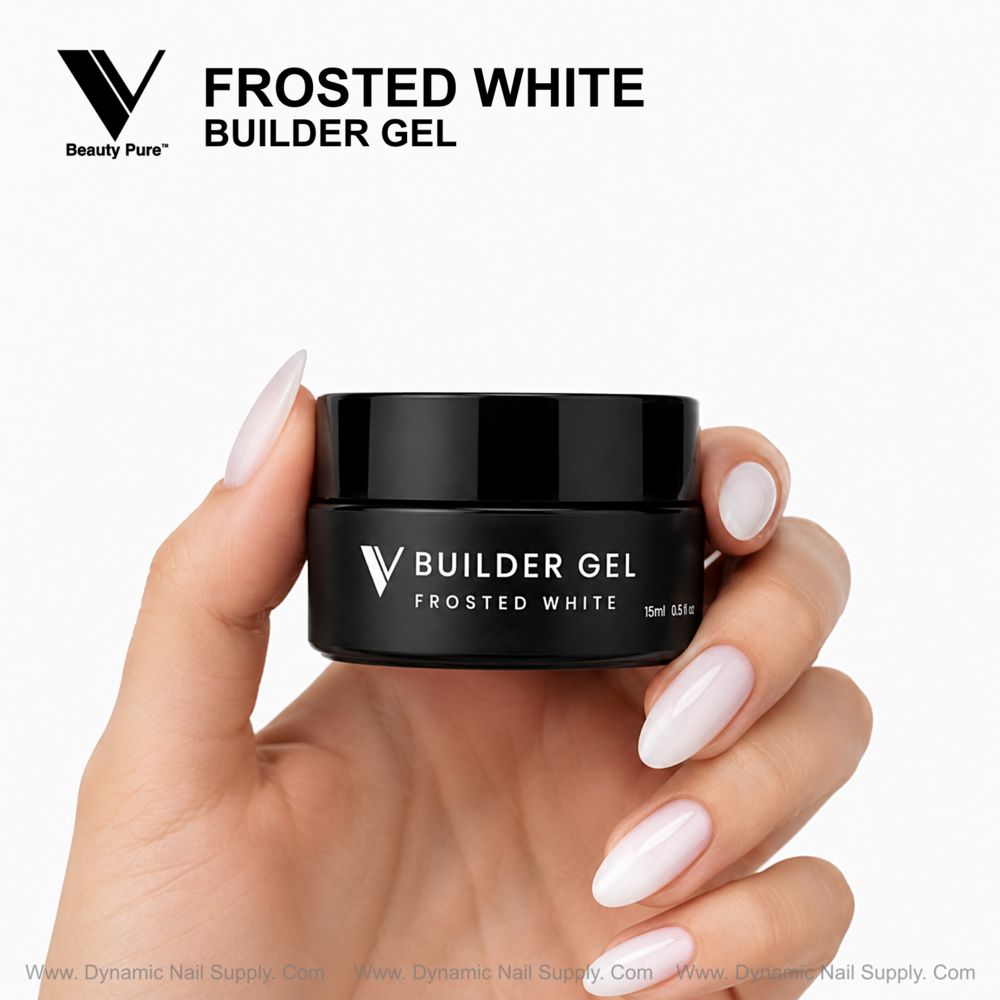
Elegant almond nails with a soft frosted sheen.
Day 3 — Apex and structure on almond shapes
- Goal: build a balanced apex without over-bulking the nail.
- Practice: place product where the natural stress point sits for almond nails, sculpt a gentle camber, and refine with minimal filing.
- Focus: the medium viscosity of Frosted White supports controlled shaping; practice sidewall clearance and smooth transitions to the free edge.
Day 4 — Full extension with forms or tips
- Goal: create long almond extensions that read natural and soft-pale rather than stark white.
- Practice: sculpt a full extension using forms or attach tips and blend the milky finish to avoid a visible seam.
- Focus: soft gradation from the nail bed to the frosted tip—keep the milky translucency even.
Day 5 — Fills, repairs, and speed work
- Goal: efficient fills that maintain the frosted finish and the apex integrity.
- Practice: remove lifting or broken sections and rebalance the structure with targeted beads, cure, and finish quickly while preserving translucency.
- Focus: time each step and aim to reduce unnecessary filing without sacrificing shape.
Day 6 — Photo-ready finishing and glossy topcoat technique
- Goal: produce a high-gloss finish that photographs cleanly on warm skin tones.
- Practice: dehydrate, remove the inhibition layer when appropriate, and apply a glossy top layer for a mirror shine that keeps the frosted-soft look.
- Focus: check finishes under bright white background and warm skin tones to ensure the milky effect remains soft, not opaque.
Day 7 — Mock bridal service and upsell practice
- Goal: run a full service from consultation to aftercare and practice upsell dialogue.
- Practice: present options—soft French tip, minimalist accent, or subtle ombré—while demonstrating how Frosted White provides a gentle, diffused base for any of these services.
- Focus: timing, client education, and capture final photos for portfolio standards.
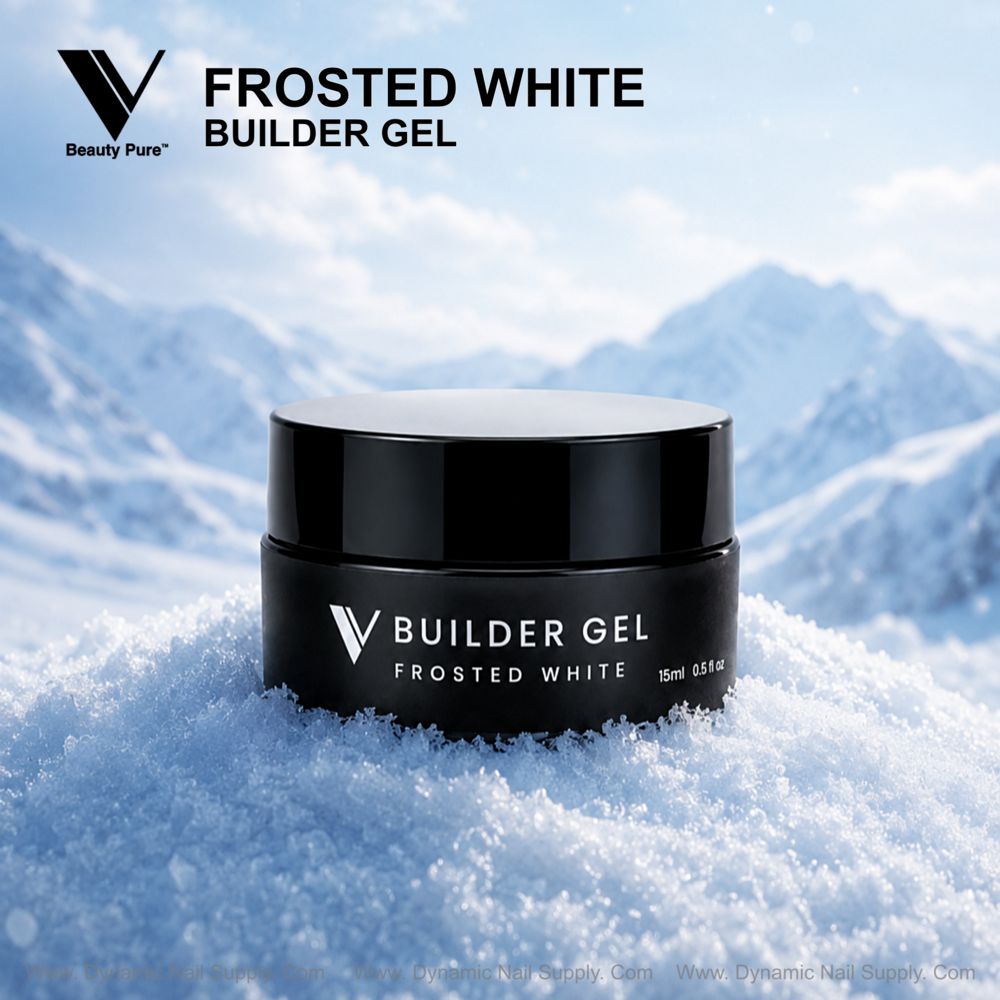
Minimalist bridal nails finished glossy for photos.
Mastering placement of the milky pigment and a controlled apex creates a bridal nail that reads elegant and effortless.
Technique focus: shade placement, translucency, and staging for warm skin tones
For warm skin tones, place slightly more of the Frosted White pigment toward the free edge and apex so the nail reads luminous rather than chalky. Use thin layers to let the natural nail tone soften the milky white. Practice gentle blending at the cuticle to keep the base natural and avoid a stark line.
Recommended short lead-in for product specifics:
Finishes and simple add-on services to increase ticket value
Offer a glossy photo finish, a sheer pale-white tip for a minimalist French, or a single minimalist accent nail with a translucent overlay. These additions are low-effort but high-perceived value and pair naturally with the frosted-milky aesthetic.
Care and safety reminder
Work in a well-ventilated space, avoid contact with skin, and keep jars tightly closed to prevent contamination. Follow lamp curing guidelines for the product you use. Store the jar upright in a cool place and sanitize tools between clients.
End each practice session with a quick checklist: tidy station, reseal the jar, note what to improve tomorrow, and photograph results for comparison.