
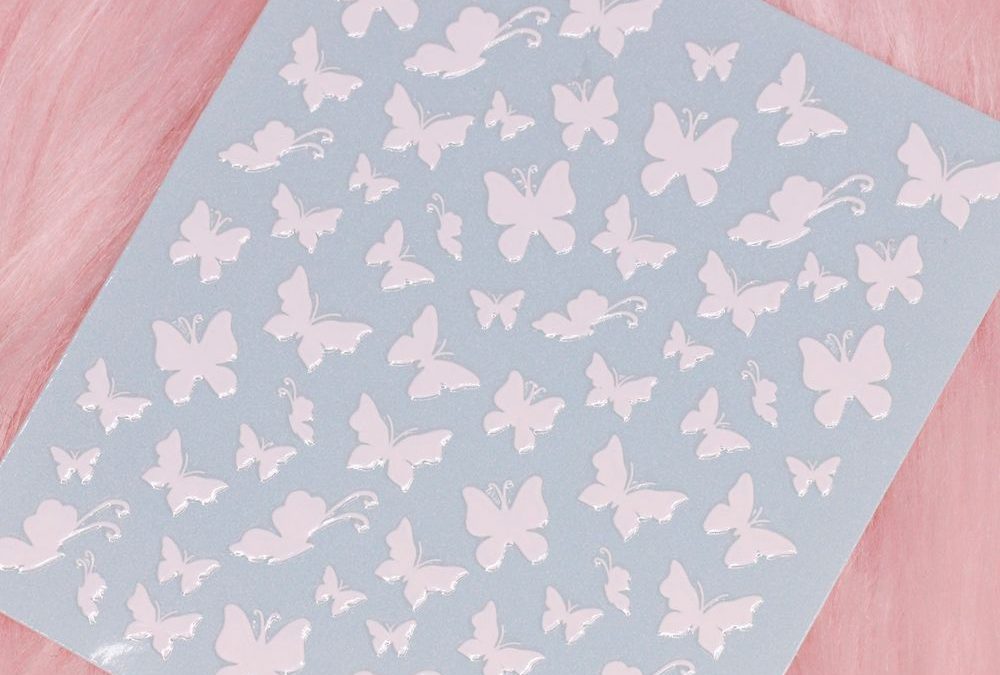
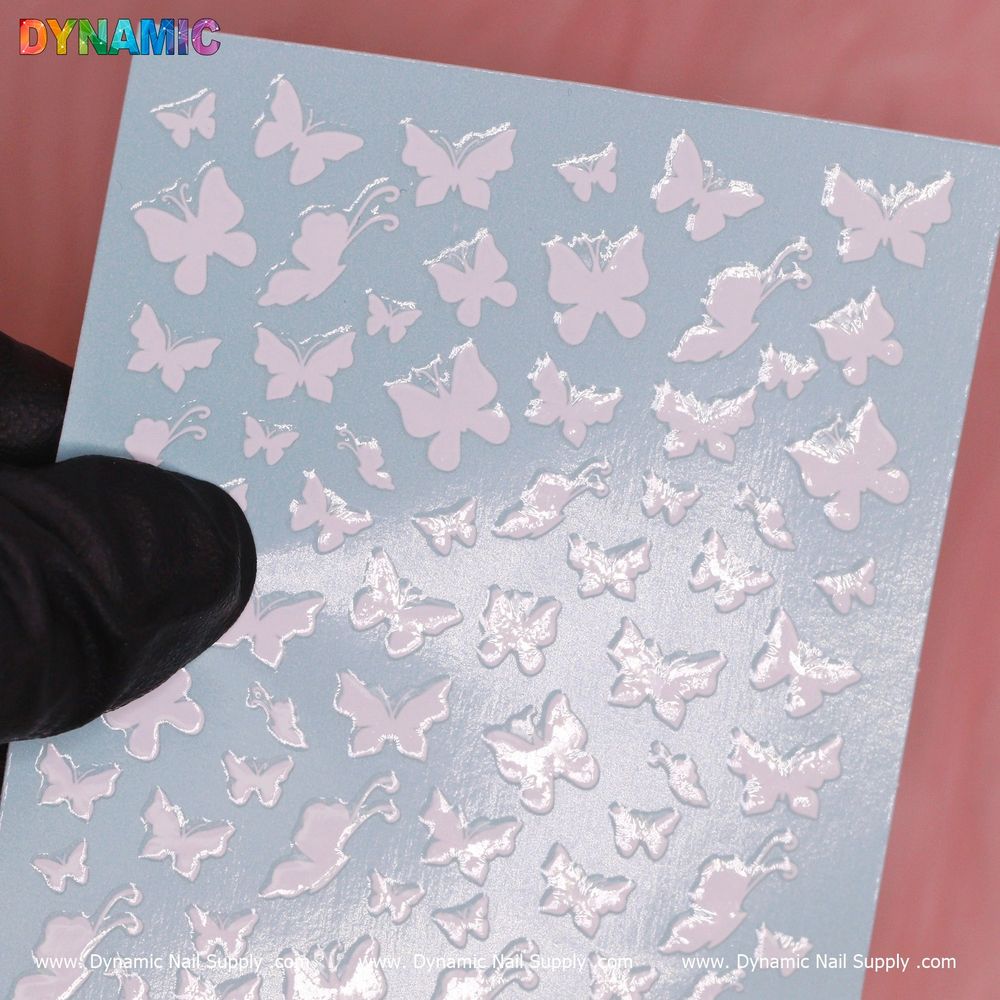
Uniform pale-pink butterflies on powder-blue backing
Master a delicate, salon-ready butterfly accent in seven focused practice sessions.
Day 1 — Familiarize Yourself With The Sticker Sheet
Begin by observing the sheet closely. The butterfly decals are a uniform pale baby-pink mounted on a powder-blue backing, photographed against a soft blush-pink fur that highlights their feminine, dreamy palette.
Handle one sticker to feel its slightly raised, glossy edge and the smooth, reflective finish. Practice peeling a single small decal from the backing with tweezers, then place it on a test nail tip. The goal is controlled removal without creasing.
- Practice tools: pointed tweezers and a soft rubber tip pusher.
- Goal: remove and place five stickers cleanly within 10 minutes.
Day 2 — Placement and Scale on Different Nail Lengths
Work across short, medium and long artificial tips. The sheet’s consistent pale-pink butterflies read differently by scale; shorter nails demand smaller or partial butterflies, longer nails can carry full motifs.
Experiment with placement: center on the nail bed, offset toward the cuticle, and tilted on the free edge. Note how the powder-blue backing contrasts with the decals while you position them—this helps profile the motif until you place it on the nail.
- Goal: create three distinct placements per nail length and photograph them for reference.
- Tip: keep a note of which placement creates the most balanced visual weight for the client’s hand size.
Day 3 — Integrating With Base Finishes
Test the stickers over three common salon bases: a nude baby-pink, a matte pink, and a pale blue/ivory. Observe how the glossy, slightly raised edges of the butterflies interact with matte versus glossy bases.
Practice curing or sealing protocols appropriate to your base products. For matte bases, the glossy butterflies provide an elegant contrast; for glossy bases, aim for a smooth, seamless finish.
- Goal: determine one sealing technique per base that preserves the sticker’s raised highlight without lifting.
- Note: price is $2 and may change; factor cost into practice sets for client trials.
Day 4 — Adhesion and Edge Management
Focus on securing the edges and preventing lift. The slight three-dimensional edge that gives these butterflies their reflective highlights also creates potential catch points.
Use a thin brush with a compatible clear sealant to gently press and coat the sticker edge. Practice removing excess sealant and smoothing without disturbing the decal position.
- Goal: achieve a flush edge on ten nails with no visible lifting after light abrasion.
- Technique: apply thin coats and flash cure where appropriate to avoid pooling along the raised edge.
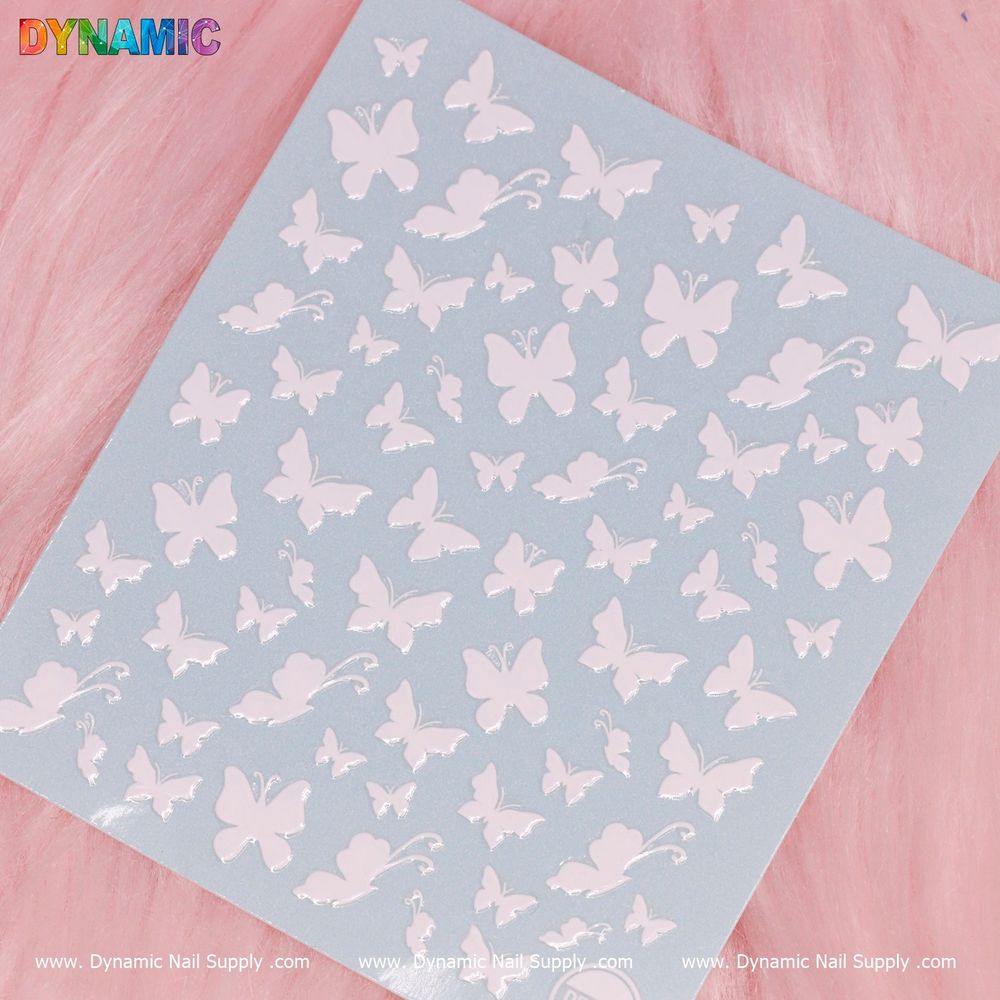
Glossy edges catch the light on a soft blush backdrop
Day 5 — Creative Placements for Services
Move beyond single accent nails. Try a soft springtime full-nail butterfly accent on a nude base, a pastel ombré with a single butterfly on each ring finger, and a matte pink base topped with a glossy butterfly for pronounced contrast.
Plan service timing: estimate added minutes per butterfly and test how multiple small butterflies affect overall appointment length.
- Goal: finish at least three full nail sets employing different placement strategies within standard appointment windows.
- Tip: use the sheet’s uniform pale pink look to create cohesive sets rather than multi-colored clutter.
Day 6 — Bridal And Special-Occasion Execution
Practice a refined bridal mani using tiny butterflies over a pale blue or ivory base. The soft pastel palette in the product photo translates well to romantic, understated looks.
Focus on symmetry and minimalism—tiny butterflies repeated sparingly across the hands create an elegant result that reads well in photos.
- Goal: produce two photo-ready bridal samples that emphasize subtlety and balance.
- Note: stage lighting highlights the reflective edges; test shots under salon lighting before client delivery.
Day 7 — Quality Control, Timing, And Client Communication
Run a mock appointment from consultation to finish. Time each step: base prep, placement, sealing, and final touches. Include short client-care instructions you can hand to guests.
Inspect for lifts, bubbles, or irregular edges. The powder-blue backing enhances contrast during inspection and helps spot imperfections prior to final sealing.
Prioritize small, consistent adjustments—precision in placement and thin sealing layers gives the most durable, elegant finish.
Wrap up the session by creating a short protocol sheet for technicians: preferred tools, sealing product recommendations, and timing benchmarks you used during practice. If you keep a sample kit, store unused sheets flat and away from heat to retain adhesive quality.
For salon managers planning a staff quick-course, consider adding a station where technicians practice on a range of base textures and nail lengths, then compare results. You might keep one sample sheet labeled for reference so everyone learns the subtle contrast that the powder-blue backing produces.
Use White Butterfly Sticker when scheduling client trials to illustrate exactly how the delicate pale-pink butterflies perform across services.
Care and safety reminder: keep stickers away from open flames and extreme heat, do not apply over broken or irritated skin, and always sanitize tools and nail surfaces before application to reduce contamination risk.